
Posting multiple photos on Instagram is one of the platform's most powerful—and surprisingly simple—features. This creates a carousel post, which is a single, swipeable album that lets you tell a much deeper story than one picture ever could.
You just open the app, tap the + icon, find the ‘Select Multiple’ symbol (it looks like a stack of squares), and start picking your shots. You can add up to 10 photos or videos this way.
Why Do I Need to Post Multiple Photos?

Sharing multiple photos isn’t just about cramming more content into one post. It’s a strategic move to boost engagement and tell richer, more compelling stories without overwhelming your followers' feeds.
The biggest benefit is increased dwell time—the amount of time someone spends looking at your post. When a follower stops their scroll to swipe through your images, they send a strong signal to the Instagram algorithm that your content is valuable.
This simple action can have a huge impact. The algorithm often gives carousels a "second chance" on the feed, showing a different slide to followers who scrolled past the first one. It’s a built-in way to re-engage your audience without creating new content.
Common Scenarios Where Carousels Work Best
Instead of bombarding your followers' feeds with a dozen single images from an event, a carousel bundles them into one cohesive narrative. It's cleaner for your audience and more effective for you.
Here are a few real-world examples:
- Step-by-Step Guides: Break down a recipe, a workout routine, or a DIY project into simple, numbered slides.
- Before-and-After Reveals: Show the dramatic transformation of a home renovation, a fitness journey, or a creative project.
- Product Showcases: Display a product from multiple angles, highlight key features, or show it in different real-world settings.
- Event Recaps: Compile the best moments from a conference, a wedding, or a vacation into one organized and engaging post.
The real magic of a carousel is building a story. Each slide should flow logically into the next, guiding your audience from a compelling hook to a clear conclusion. The first slide needs to stop the scroll, the middle slides deliver value, and the final slide should include a strong call to action. To really master this, it's worth digging into the principles of carousel ad design for effective storytelling.
Of course, a great visual story needs a caption that’s just as clear. Make sure your message is easy to read by checking out our quick guide on how to put spaces in your Instagram caption.
How to Post Multiple Photos from the Instagram Mobile App

The Instagram mobile app is the most common way to post a carousel and gives you access to all of the platform's native creative features.
Step-by-Step Guide:
- Open the Instagram App: Tap the plus icon (+) at the bottom of the screen to open your phone’s camera roll.
- Enable Multi-Select: Before choosing photos, look for the ‘Select Multiple’ icon. It looks like a stack of squares and is usually located on the right side of the photo preview. Tapping this turns a standard post into a carousel.
- Choose Your Photos and Videos: You can select up to 10 photos and videos. As you select them, a number will appear on each thumbnail indicating its position in the carousel.
- Reorder Your Slides: After tapping ‘Next,’ you'll be taken to the reordering screen. Press and hold any image to drag it into a new position.
- Limitation: Get the order right at this stage. You cannot reorder the slides after the post is published without deleting and re-uploading it.
- Edit Your Carousel: On the next screen, you can apply a single filter to all images for a consistent look, or tap each photo individually to adjust its brightness, contrast, and other settings.
- Check Your Crop: Before publishing, ensure your images are framed correctly. Instagram forces all slides in a carousel to adopt the aspect ratio of the first image. Use a tool like our free Instagram Safe Zone Checker to prevent important details from being cut off.
- Publish Your Post: Write your caption, add relevant tags and a location, and tap ‘Share.’
All your social media in one simple dashboard
Schedule posts, track analytics, and reply to comments/DMs — without switching tabs.

Engagement
+18%
Views
52.8k
How to Upload Multiple Photos from a Desktop
For creators and social media managers, the desktop is often the primary workspace where high-quality, edited photos are stored. Posting a carousel directly from your computer streamlines your workflow by eliminating the need to transfer files to your phone.
Step-by-Step Guide:
- Log In to Instagram: Go to Instagram.com and log in to your account.
- Start a New Post: Click the Create button in the left-hand menu. A window will appear prompting you to select files from your computer.
- Select Your Photos: Browse your computer and select all the photos you want to include in your carousel. You can drag and drop them directly into the upload window.
- Arrange Your Photos: Unlike the mobile app, the desktop uploader automatically recognizes multiple files and creates a carousel. You can click and drag each photo to rearrange them until your narrative flows correctly.
- Adjust the Crop: Use the cropping icon in the bottom-left corner to set the aspect ratio for the entire carousel.
- Limitation: The desktop editor is a more basic experience. It lacks the full suite of creative tools like filters, stickers, or interactive polls available on the mobile app. It's designed for efficiency, not in-depth editing.
- Finalize and Share: Write your caption, tag accounts, add alt text for accessibility, and click the Share button to publish your post.
The biggest advantage of desktop posting is convenience. It removes the cumbersome step of transferring edited photos from your computer to your phone, saving significant time in your content creation process.
How to Schedule Multiple Photos on Instagram
Manually posting carousels every day is unsustainable if you're serious about your Instagram strategy. Scheduling is the key to maintaining consistency, saving time, and batching your creative work into focused sessions.
Using a scheduling tool like PostPlanify lets you upload and arrange all your carousel photos, write and perfect your captions, add alt text, and set everything to publish at the optimal time for your audience—all from a single dashboard.
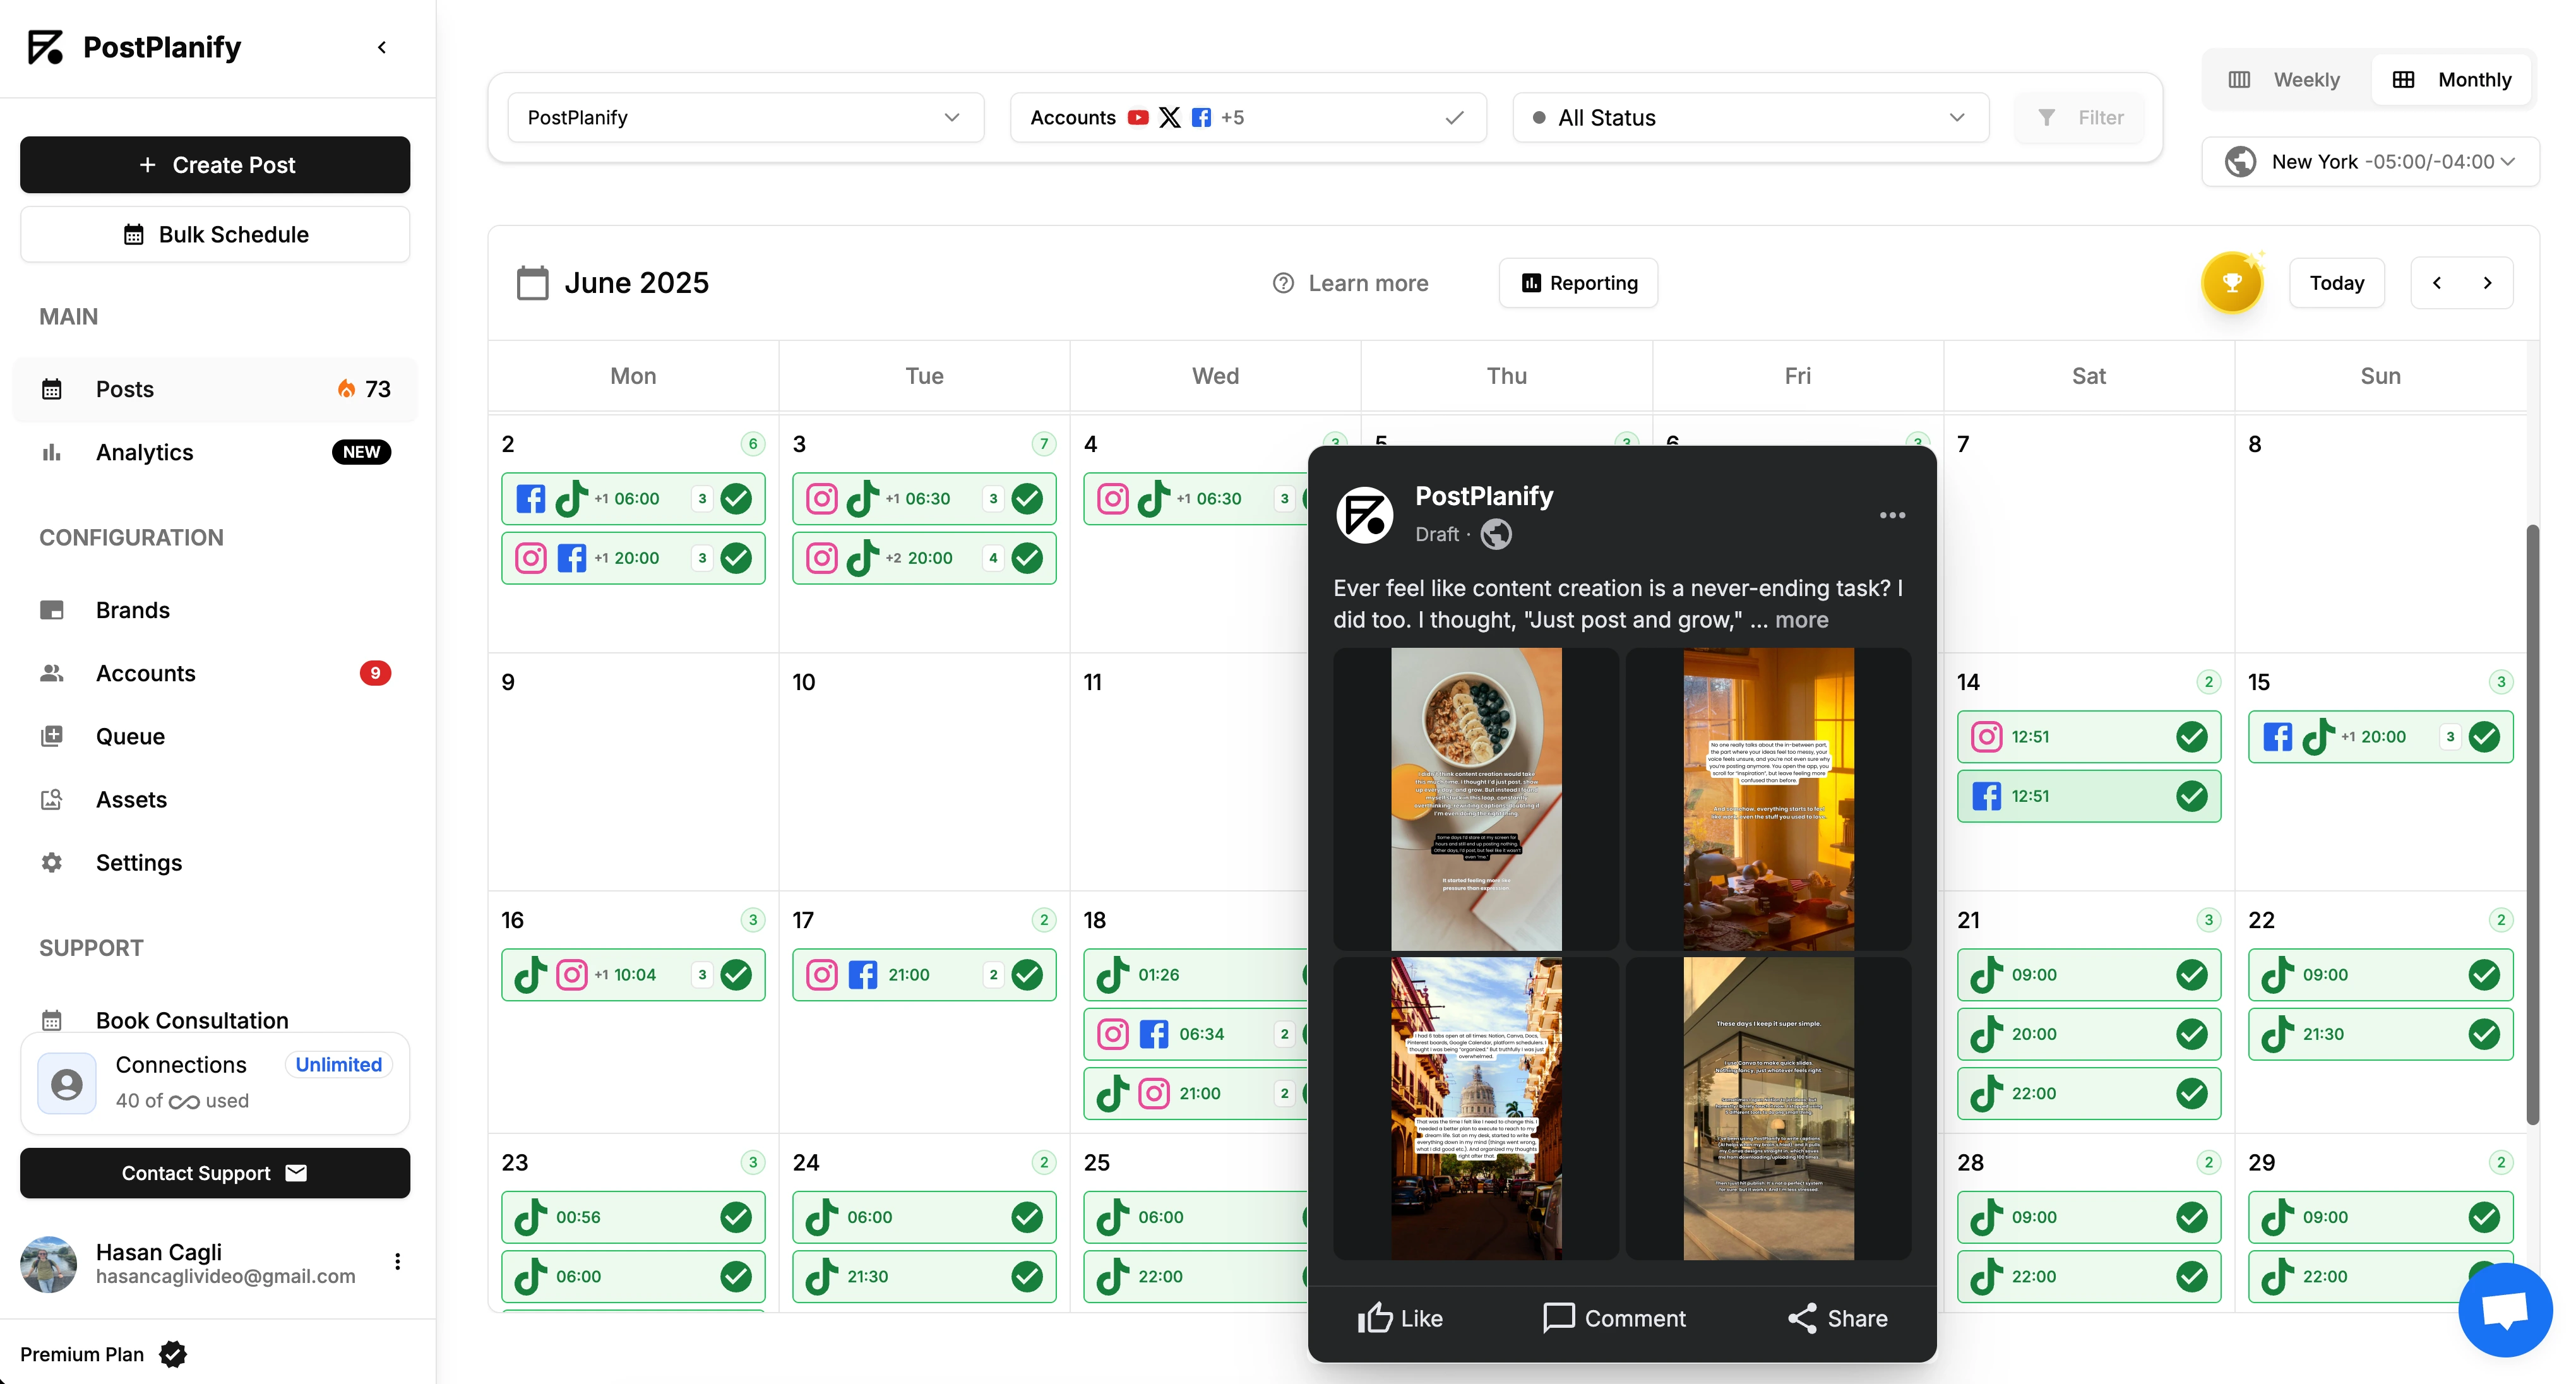
Why You Should Schedule Your Carousels
Automating your posting schedule frees you from the constant pressure to be "on." It ensures your content goes live even when you're busy, maintaining the consistent rhythm that the Instagram algorithm rewards. This is especially critical for hitting peak engagement windows when your audience is most active.
For instance, Instagram post frequency findings suggest that posting during off-peak hours, like 5 AM, can increase visibility due to lower competition. With 90% of users following at least one business, scheduling ensures you're consistently present to capture their attention.
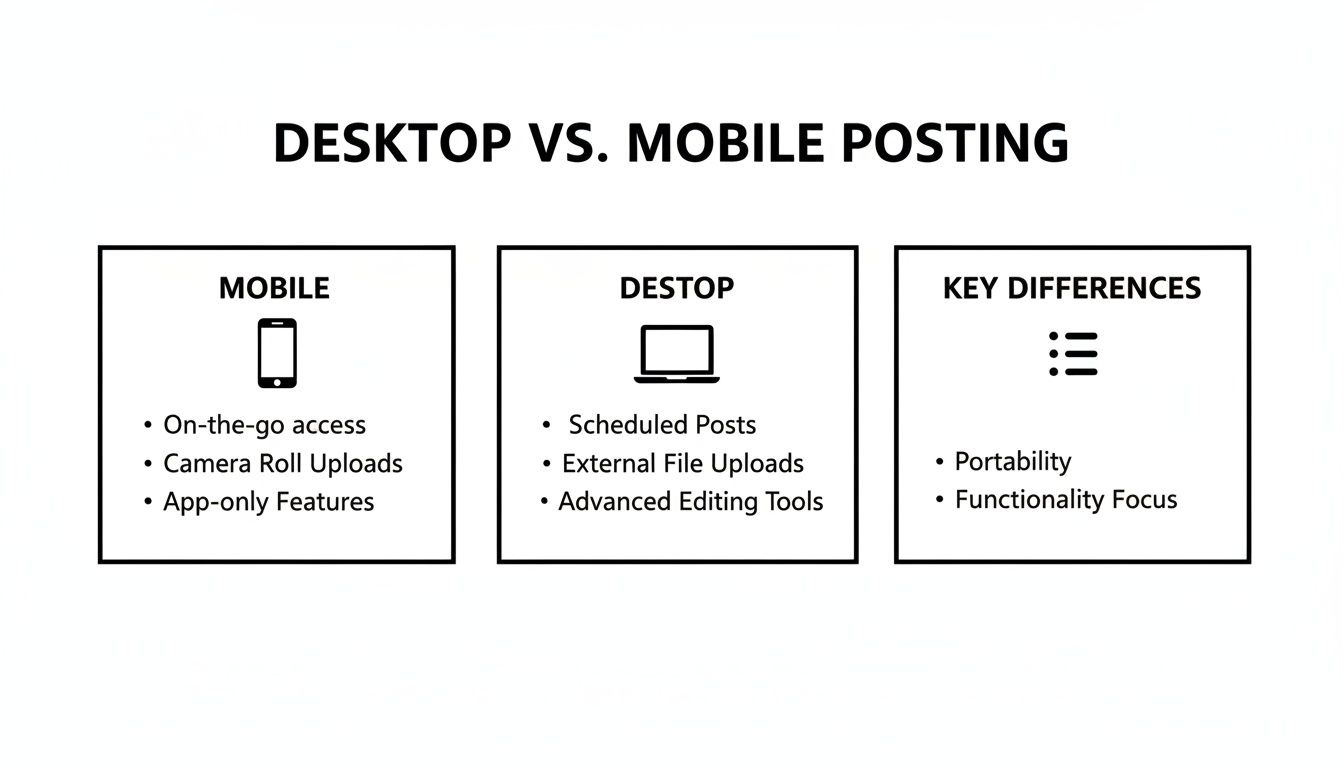
While the mobile app offers more creative tools, scheduling from your desktop is built for efficiency and strategy. It transforms Instagram from a daily chore into a manageable growth asset. To learn more, see our full guide on how to schedule carousel posts on Instagram and Facebook.
Troubleshooting: Why Can't I Post Multiple Photos?

Even with a simple process, things can go wrong. Uploads fail, photos get distorted, or features disappear. Here are the most common problems and how to fix them.
Problem 1: My Photos Are Cropped Unexpectedly
- Why it happens: This is the most frequent issue. You select a mix of portrait and landscape photos, but Instagram forces them all into a square format, cutting off important details. The reason is that Instagram locks the aspect ratio of the entire carousel to the aspect ratio of the first image selected. If your first photo is square (1:1), all subsequent photos will be cropped to a 1:1 ratio.
- Actionable Fix: Decide on your aspect ratio before you start. Pre-crop every photo to the same dimensions—either square (1:1) or portrait (4:5)—using an external editor. This gives you full control and ensures nothing gets cut off unexpectedly.
Problem 2: The 'Select Multiple' Button Is Missing
- Why it happens: You open the post creator, but the layered-square icon to select multiple photos is gone. This almost always indicates that your Instagram app is outdated.
- Actionable Fix: Go to your phone's app store (Apple App Store or Google Play Store) and check for an Instagram update. Installing the latest version typically restores the button and any other missing features.
Problem 3: The Upload Fails or Gets Stuck
- Why it happens: You hit "Share," but the upload progress bar spins endlessly before failing with a vague error message. This is usually caused by an unstable internet connection or, occasionally, an issue on Instagram's end.
- Actionable Fix: First, try switching your connection from Wi-Fi to cellular data (or vice versa) and attempt the upload again. If the issue persists, the problem may be a temporary server-side bug. Waiting a few minutes before trying again is often the only solution. For persistent issues with scheduled posts, our guide on what to do when Instagram scheduled posts are not working provides more detailed troubleshooting steps.
FAQ: Posting Multiple Photos on Instagram
Here are quick answers to the most common questions about creating carousel posts.
What is the maximum number of photos in a carousel?
You can include up to 10 photos and videos in a single Instagram carousel. This provides ample space for detailed tutorials, event recaps, or product showcases — and yes, you can mix photos and video clips in the same carousel. If you're planning to include longer video content, check out our guide on how to post a long video on Instagram for the latest length limits and format requirements. The key is to make every slide count and provide value to your audience. For insights on what type of content performs best, you can explore Instagram user demographics and content trends.
Can I add a different caption to each photo?
No, you cannot add a unique caption for each individual slide. The caption applies to the entire carousel post as a whole.
A common workaround is to add text overlays directly onto your images before uploading them. You can use tools like Canva or Instagram's own Story editor to create text graphics that guide your audience through each slide.
Can I reorder photos after posting?
No. Once a carousel is published, you cannot reorder, add, or replace photos. The only way to change the order is to delete the entire post and upload it again. Alternatively, you can archive the post instead of deleting it — this preserves all likes and comments while you re-upload with the correct order.
This limitation makes pre-planning essential. Always double-check your photo sequence on the final preview screen before you hit "Share." This is where scheduling Instagram posts can be a lifesaver, as it gives you a chance to review and catch errors before they go live.
What are the best image dimensions for carousels?
To ensure your photos look sharp and professional, use Instagram’s recommended dimensions.
- Portrait: 1080 x 1350 pixels (4:5 aspect ratio)
- Square: 1080 x 1080 pixels (1:1 aspect ratio)
Crucial reminder: The entire carousel will be automatically cropped to match the aspect ratio of the very first image you select. To avoid unexpected cropping, resize all your photos to the same dimensions before you create the post.
Key Takeaways Checklist
- Use carousels for storytelling: Go beyond single images with before-and-afters, tutorials, and event recaps.
- Select up to 10 photos/videos: Use the "Select Multiple" button in the Instagram app.
- Set the aspect ratio with the first image: All other slides will be cropped to match the first one. Pre-crop all images to 1:1 (square) or 4:5 (portrait) for consistency.
- Order matters: You cannot reorder slides after posting. Double-check the sequence before publishing.
- Schedule for efficiency: Use a tool like PostPlanify to save time, maintain consistency, and avoid last-minute errors. Start your 7-day free trial today!
All your social media in one simple dashboard
Schedule posts, track analytics, and reply to comments/DMs — without switching tabs.
Engagement
+18%
Views
52.8k
About the Author

Hasan Cagli
Founder of PostPlanify, a content and social media scheduling platform. He focuses on building systems that help businesses, agencies, and teams plan, publish, and manage content and social media more efficiently across platforms.


