
Posting a picture on Pinterest is simple: find the 'Create' button, upload your image, add a title, description, and link, then pick a board and publish. The entire process can take less than a minute from your computer or phone.
But treating Pinterest like just another social media platform is a mistake. It's not about what happened today; it's a visual search engine where your content can be discovered for months, or even years. Understanding this difference is key to getting real results.
Why Posting on Pinterest Is Different from Other Platforms
Before we get into the step-by-step, it's critical to understand why Pinterest isn't Instagram or Facebook. On those platforms, content has a very short lifespan. A post from yesterday is already old news.
Pinterest is fundamentally a visual discovery engine. Your images, called "Pins," are indexed and can be found by users long after you post them. They don't disappear into a chronological feed; they continuously drive traffic and engagement over time.
This changes your entire content strategy. People use Pinterest to find ideas, plan projects, and discover products. When you post a picture, you're not just sharing a moment—you're providing a solution or inspiration that someone is actively searching for.
The Problem: Your Content Isn't Optimized for How People Use Pinterest
A common mistake is creating content that doesn't align with user behavior on the platform. With nearly 500 million monthly active users, the potential for discovery is massive. But where are these users? They're on their phones.
Data consistently shows that around 82-85% of Pinterest usage happens on mobile devices. This means if your images aren't optimized for a vertical, phone-friendly layout, you're already at a disadvantage. A horizontal image that looks great on a desktop monitor will appear small and ineffective on a mobile feed, causing users to scroll right past it.
Key Takeaway: Every Pin is a long-term asset. Unlike a tweet or an Instagram story that has a fleeting lifespan, a well-optimized Pin can continue to attract views and send traffic to your website indefinitely.
This search-centric nature is why elements like keywords in your Pin descriptions and organizing your content into specific "Boards" are so important. These actions provide signals to Pinterest's algorithm, helping it understand what your content is about so it can show it to the right audience.
For creators and marketers managing multiple content streams, using specialized social media content tools can help streamline this entire process, ensuring every Pin is optimized for maximum visibility from the moment it goes live.
A Step-by-Step Guide to Publishing Your First Pin
Let's walk through the exact steps to get your first Pin live. We'll use a practical example: a DIY blogger who has just written a tutorial for a "Rustic Bookshelf" project and wants to share it.
How to Post a Pin from a Desktop Browser
Starting on a desktop is often easier because the larger screen makes it simpler to write and review your Pin's details.
- Log In and Find "Create": Log into your Pinterest account. In the top-left corner, click the Create dropdown menu and select Create Pin. This opens the Pin editor.
- Upload Your Image: You'll see a large area where you can drag and drop your image file or click to upload from your computer. Our DIY blogger would upload their best vertical photo of the finished bookshelf here.
- Choose a Board: In the top right, there's a dropdown menu to select a board. This is a critical step for organization. Our blogger should choose their "DIY Home Decor Projects" board. A generic board like "My Blog Posts" is not specific enough and provides less context to the algorithm.
- Write a Compelling Title: The Title is your headline. It needs to be clear and include keywords. Instead of a vague title like "New Project," our blogger should use "Easy DIY Rustic Bookshelf Project."
- Add a Detailed Description: The Description is where you provide context and include more keywords. Explain what the Pin is about and why someone should click. For example: "Learn how to build a beautiful rustic bookshelf with simple tools. This step-by-step DIY project is perfect for beginners and adds charm to any room. Get the full tutorial on our blog."
- Add the Destination Link: This is how you drive traffic. In the Destination link field, paste the full URL to the specific blog post with the bookshelf tutorial. Always double-check this link to ensure it's correct. A broken link makes the Pin useless.
- Publish: Once all fields are filled out and you've reviewed them, click the red Publish button in the top-right corner. Your Pin is now live.
All your social media in one simple dashboard
Schedule posts, track analytics, and reply to comments/DMs — without switching tabs.

Engagement
+18%
Views
52.8k
How to Post a Pin from the Mobile App
Posting from the mobile app is great for convenience. The steps are nearly identical.
- Open the App and Tap Create: Open the Pinterest app and tap the plus sign (+) at the bottom center of the screen. From the menu that appears, select Pin.
- Select Your Image: Your phone's photo gallery will open. Find the picture of the rustic bookshelf, select it, and tap Next.
- Fill in the Details: You'll now see fields for the Title, Description, and Link. Fill these out just as you would on a desktop. A useful tip is to have the destination link copied to your clipboard before you start to save time.
- Choose a Board and Publish: Tap Next again. You'll be prompted to choose a board. Find the "DIY Home Decor Projects" board, select it, and tap Create to publish the Pin.
While the process is the same, the desktop view is generally better for careful editing and keyword research. For beginners, starting on a computer can feel more intuitive and less cramped.
Once you start posting regularly, you'll find that manually creating every Pin is time-consuming. This is where a dedicated Pinterest scheduler becomes invaluable. Tools like PostPlanify allow you to batch-upload and schedule dozens of Pins at once, ensuring your content is published at optimal times without requiring you to be online.
This flowchart simplifies the entire process into its three core actions.
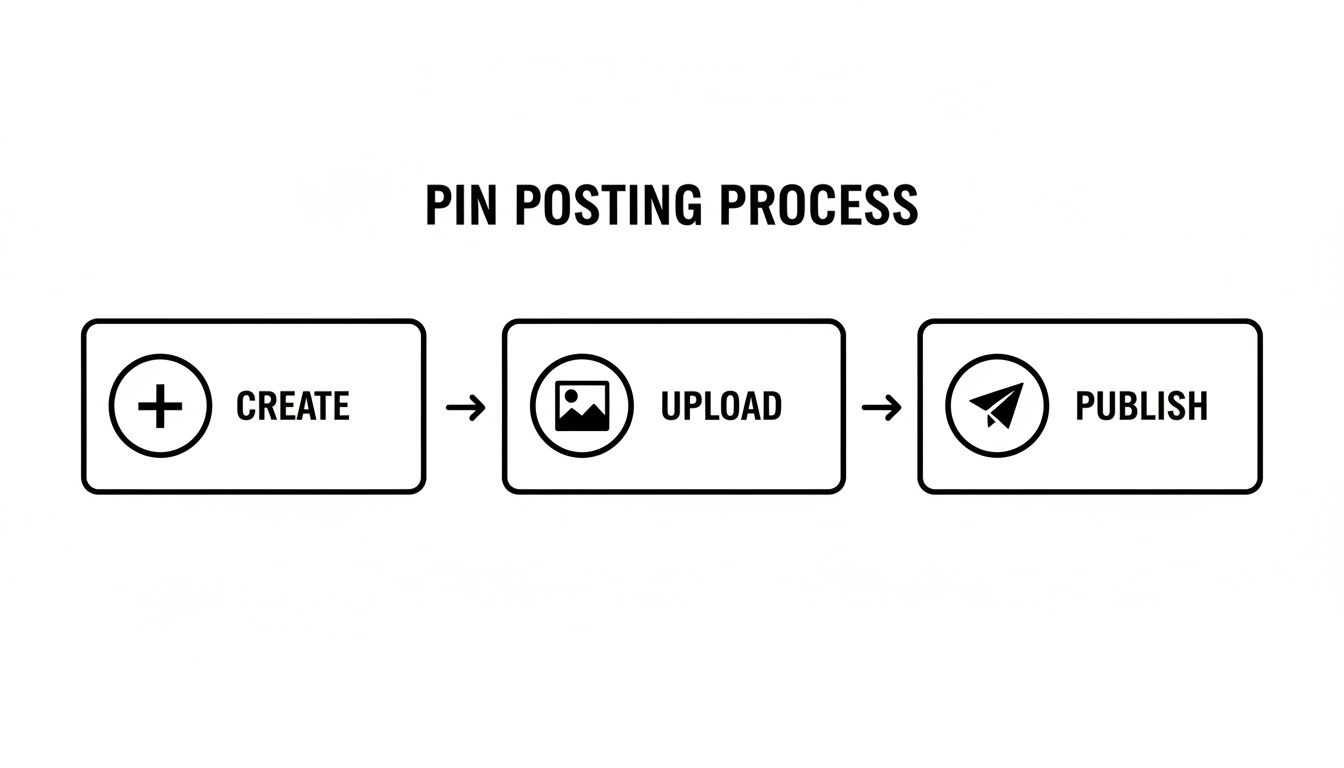
Ultimately, it boils down to Create, Upload, and Publish. This visual reinforces how straightforward it is to get your content live and start driving traffic.
How to Optimize Your Pins for Clicks and Saves
Getting your picture onto Pinterest is just the first step. The real goal is to get it seen, saved, and clicked on. This requires optimizing your Pins to work with the Pinterest algorithm, which functions like a search engine.
Think of each Pin as a signpost. If your sign is blurry, small, or points to the wrong place, no one will follow it.
Actionable Fix 1: Perfect Your Image and Aspect Ratio
The image is the most important part of your Pin. It must be designed for how people browse: vertically, on their phones.
- Stick to a 2:3 Aspect Ratio: This is the most critical rule. An image with a 2:3 ratio (e.g., 1000 x 1500 pixels) takes up the most screen real estate on mobile feeds, which helps grab attention. Square or horizontal images look out of place and are less effective.
- Use High-Quality Visuals: Blurry, dark, or pixelated photos will be ignored. Your images must be sharp, well-lit, and visually appealing.
- Add Text Overlays: A simple text overlay provides immediate context. For a recipe Pin, adding a title like "Easy Vegan Chili Recipe" directly on the image tells a user exactly what they're getting before they read the description.
Data from studies analyzing over one million Pins confirms that vertical images with a 2:3 aspect ratio and clear focal points consistently drive more saves and clicks. For more on creating effective visuals, this guide on mastering visual content for social media is a great resource.
Actionable Fix 2: Write for Discovery with Keywords
Since Pinterest is a search engine, the words you use are just as important as the image itself. You need to incorporate the same keywords that your target audience is typing into the search bar.
Pro Tip: Use Pinterest's search bar for research. Start typing a term like "home decor," and pay attention to the auto-suggested phrases that appear. These are the exact terms people are actively searching for.
Pin Title: Your title is your headline. It should be direct and include your primary keyword. Instead of a generic title like "My New Recipe," use something specific like "Quick and Easy Chicken Noodle Soup Recipe."
Pin Description: Use the description to add more detail and context. Write a few natural-sounding sentences that describe the Pin, weaving in related keywords. For the soup recipe, you could include terms like "comfort food," "weeknight dinner," or "healthy soup." For more content ideas, our guide on social media scheduling hacks for small businesses offers useful tips.
Actionable Fix 3: Don't Forget Alt Text
Alt text (alternative text) is a short, descriptive sentence about your image. Its primary purpose is for accessibility (to help visually impaired users), but it also serves as a strong SEO signal for Pinterest. The algorithm reads your alt text to get more context about your Pin.
- Bad Alt Text: "bookshelf"
- Good Alt Text: "A tall, rustic wooden bookshelf with five shelves, styled with vintage books, a small green plant, and decorative vases."
Actionable Fix 4: Use Your Destination Link Effectively
The destination link is where you send users who click on your Pin. Every Pin should lead to a valuable and relevant destination.
- Make Sure It Works: Always double-check your link before publishing. A broken link creates a poor user experience and is a wasted opportunity.
- Lead to Relevant Content: The link must deliver on the Pin's promise. If your Pin is about a specific brownie recipe, link directly to that recipe, not your blog's homepage. Don't make users search for the content they were promised.
Building a Consistent Pinning Strategy
Posting a single picture is easy, but achieving real growth on Pinterest requires a consistent, strategic presence. A single Pin is just one data point; a consistent strategy is what creates momentum and drives sustained traffic to your website.
The foundation of a good strategy is organization. Pinterest Boards are the primary tool for this. Think of them as categories for your ideas. Instead of one massive, general board, create specific, niche boards that clearly define your brand or topics.
For example, a home decor blogger would get better results with separate boards like:
- Minimalist Living Room Ideas
- Modern Farmhouse Kitchens
- Small Balcony Gardening
- DIY Wall Art Projects
This level of organization makes your profile easier for users to navigate and helps the Pinterest algorithm understand your content's context, leading to better distribution.
Why You Should Schedule Your Pins
Once your boards are organized, the next step is maintaining consistency. Manually posting pictures every day is inefficient and leads to burnout. The solution is scheduling, which allows you to plan your content weeks or even months in advance.
Pinterest offers a native scheduler that allows you to schedule a Pin up to 30 days in advance. While useful, it has limitations, especially for those managing a high volume of content or multiple accounts, as you still have to create and schedule each Pin individually.
This is where third-party planning tools become essential. Many creators rely on various social media scheduling tools to maintain a consistent presence without the daily effort. A platform like PostPlanify helps you move beyond single posts to a more efficient workflow. Instead of posting reactively, you can plan an entire month's worth of content in a single session.
Scheduling isn't just about saving time; it's about being strategic. It ensures your profile remains active, captures audience attention at peak engagement times, and maintains the momentum that the algorithm favors.
A Real-World Scheduling Scenario: Content Batching
Imagine a small e-commerce shop planning its holiday marketing. Instead of scrambling to post a picture each day in December, the owner can use a scheduling tool in November to map out the entire campaign. This process is called content batching. For a deeper look, our guide on how content batching can save you hours is a great resource.
This approach ensures a steady stream of gift guides, product features, and promotions goes live at the perfect times. That consistency is what turns casual browsers into customers. Data shows that up to 85% of weekly Pinners have made a purchase based on Pins from brands, highlighting the platform's power to drive sales.
Troubleshooting Common Pinning Problems
Even with a solid strategy, you might encounter issues. A Pin might get zero impressions, or a high-quality image might appear blurry after being published. These problems are common and usually have straightforward solutions.
Here's a quick guide to diagnosing and fixing these frustrating problems.
Problem: My Pin Has Zero Impressions
Why it happens: When a new Pin has zero impressions, it's a sign that the Pinterest algorithm is struggling to understand your content and doesn't know who to show it to.
Common Causes:
- Weak Keywords: Your title and description lack the search terms your audience uses.
- Irrelevant Board: You saved a "Vegan Recipes" Pin to your "Summer Fashion" board, sending confusing signals to the algorithm.
- Low-Quality Image: The image is dark, blurry, or doesn't follow the recommended 2:3 aspect ratio, causing Pinterest to deprioritize it.
Actionable Fix:
- Edit the Pin: Click the pencil icon on the Pin to edit its details.
- Optimize Keywords: Rewrite the title and description to include relevant, high-intent keywords. Think like a user: what words would you use to search for this content?
- Check the Board: Ensure the Pin is saved to the most specific and relevant board you have.
- Re-upload if Necessary: If the image quality is the issue, the best solution is to delete the Pin and create a new one with a better-optimized visual.
Problem: My Images Look Blurry After Posting
Why it happens: This is a classic image compression issue. Pinterest compresses all uploaded images to ensure the platform runs quickly. If your original file is too small or low-resolution, the compression process will degrade its quality.
Actionable Fix:
- Upload High-Resolution Images: To prevent this, always upload images that are at least 1000 x 1500 pixels. This gives Pinterest's compression algorithm enough data to work with, resulting in a sharp final image.
- Use the Right File Type: Stick to high-quality PNG or JPG files.
- Replace the Pin: You cannot edit the image of a Pin after it has been published. If you have a blurry Pin, the only solution is to delete it and republish with a higher-resolution picture.
Problem: My Link is Broken or My Pin was Flagged
Why it happens: A broken link creates a dead end for the user, which harms your Pin's performance. In some cases, a legitimate Pin might be flagged as spam, often due to the use of URL shorteners, which Pinterest's system can view with suspicion.
Actionable Fixes:
- Fixing a Broken Link: If you find a broken link on a live Pin, click the pencil icon to edit it and update the "Website" field with the correct URL.
- Appealing a Flagged Pin: If your Pin is removed for spam, don't panic. Follow the appeals process outlined in the email notification you receive from Pinterest. As long as your content adheres to their community guidelines, it will likely be reinstated.
For a deeper dive into all publishing failures — including video processing issues, blocked links, account suspensions, and third-party tool errors — see our complete guide on Pinterest Pins not publishing.
If you are experiencing scheduling errors across multiple platforms, our guide on what to do when Instagram scheduled posts are not working may offer some troubleshooting steps that can help you identify the root cause.
Common Questions About Posting to Pinterest
Here are answers to some of the most frequently asked questions about posting pictures on Pinterest.
How Many Pictures Should I Post on Pinterest Per Day?
While some experts suggest posting anywhere from 5 to 25 Pins per day, the best number is the one you can consistently maintain.
Consistency is more important than volume. Posting three high-quality, well-optimized Pins every day is far more effective than posting 20 Pins on a Monday and then going silent for the rest of the week. An erratic schedule can confuse the algorithm and halt your momentum. A steady, manageable flow of content signals to Pinterest that you are a reliable creator.
Can I Edit a Picture After Posting It on Pinterest?
No, you cannot change the image or video file of a Pin after it has been published. The visual is permanent.
However, you can edit the following details of a live Pin:
- Title
- Description
- Alt text
- Destination link
- The board it’s saved on
If you find a mistake in your image or its text overlay, your only option is to delete the Pin and create a new one. This is why it's crucial to double-check your visuals before you publish.
Why Are My Pictures Not Getting Any Views on Pinterest?
Seeing zero views is usually a sign of a discoverability problem. If your Pins aren't being seen, it's likely due to one of these common issues:
- Poor SEO: Your titles and descriptions are not optimized with the keywords your audience is searching for.
- Incorrect Image Size: Your Pins are not vertical or do not use the recommended 2:3 aspect ratio, causing them to be overlooked in the feed.
- Irrelevant Boards: Saving Pins to boards that don't match their topic confuses the algorithm.
- Inconsistent Posting: A sporadic posting schedule prevents you from building momentum.
Start by auditing your keyword strategy. Then, verify your image dimensions and ensure every Pin is saved to a logical, relevant board. Addressing these foundational issues can significantly improve your Pins' visibility.
Summary Checklist for Posting on Pinterest:
- [ ] Use a 2:3 aspect ratio (e.g., 1000x1500 pixels).
- [ ] Write a keyword-rich title that is clear and direct.
- [ ] Add a detailed description with related keywords.
- [ ] Fill out the alt text to improve accessibility and SEO.
- [ ] Add a direct link to a relevant webpage.
- [ ] Save the Pin to a specific, niche board.
- [ ] Post consistently using a scheduler to save time.
Ready to stop manually pinning and start building a consistent, traffic-driving Pinterest machine? With PostPlanify, you can bulk schedule your Pins, generate keyword-rich descriptions in seconds, and see your entire content calendar in one place. Start your free 7-day trial and save hours every week.
Having trouble with Pins not publishing? See our dedicated troubleshooting guide: Pinterest Pins Not Publishing? 12 Fixes.
Related Reading
- How to Schedule Pinterest Pins - Complete guide to scheduling pins natively and with third-party tools
- Best Times to Post on Pinterest - Data-backed posting windows by niche and day of week
- Pinterest Pins Not Publishing? Here's How to Fix It - 12 specific troubleshooting fixes
- Social Media Scheduling Tools - Compare the top scheduling platforms
- Content Batching Guide - Batch-create weeks of social media content in one session
All your social media in one simple dashboard
Schedule posts, track analytics, and reply to comments/DMs — without switching tabs.
Engagement
+18%
Views
52.8k
About the Author

Hasan Cagli
Founder of PostPlanify, a content and social media scheduling platform. He focuses on building systems that help businesses, agencies, and teams plan, publish, and manage content and social media more efficiently across platforms.


