
You do not need 1,000 subscribers to livestream on YouTube. That number is outdated. YouTube lowered the mobile livestreaming requirement to just 50 subscribers, and desktop streaming has no subscriber minimum at all—you can go live with a brand-new channel.
This guide covers every method available in 2026: desktop webcam streaming, encoder software like OBS, browser-based studios, and third-party mobile apps that let you bypass the 50-subscriber limit entirely. We'll also cover the new age restrictions, viewer limits for small channels, and a realistic path to monetizing your streams.
YouTube Livestreaming Requirements at a Glance (2026)
Before diving into methods, here's a clear breakdown of what YouTube actually requires for each way of going live.
| Streaming Method | Subscriber Requirement | Age Requirement | Key Limitation |
|---|---|---|---|
| Desktop (Webcam via YouTube Studio) | 0 subscribers | 16+ (solo) | No overlays, no screen sharing |
| Desktop (Encoder like OBS) | 0 subscribers | 16+ (solo) | Requires software setup |
| Mobile (YouTube App) | 50 subscribers (18+) | 18+ | Stream replays auto-set to Private under 1,000 subs |
| Mobile (Third-Party Encoder App) | 0 subscribers | 16+ (solo) | Requires RTMP stream key setup |
| Browser-Based Studio (StreamYard, Restream) | 0 subscribers | 16+ (solo) | Free plans have watermarks and 720p cap |
Three things apply to all methods:
- Your channel must be verified with a phone number.
- You must wait 24 hours after your first verification before going live.
- You cannot have any active Community Guidelines strikes from the past 90 days.
The key takeaway: if you want to go live right now with zero subscribers, use your computer. If you want to stream from your phone with zero subscribers, use a third-party encoder app like Streamlabs (covered below).
Your Pre-Stream Checklist: Get Verified and Enabled
Before you can hit the "Go Live" button, YouTube requires a few mandatory steps. Complete these now so you're not stuck waiting when you actually want to stream.
Step 1: Verify Your Channel with a Phone Number
This is the non-negotiable first step. YouTube needs to confirm you're a real person, not a bot.
- Go to youtube.com/verify while logged into your Google account.
- Select your country and choose to receive the code via text message or automated call.
- Enter your phone number and click "Get Code."
- Type in the 6-digit code to complete verification.
Once you see the confirmation message, you've cleared the biggest hurdle. Verification unlocks livestreaming, uploads longer than 15 minutes, and custom thumbnails.
Step 2: Wait for the 24-Hour Activation Period
After verification, YouTube imposes a mandatory 24-hour waiting period before livestreaming access is activated. There is no way to skip this.
This is a one-time delay. Once the 24 hours pass, you can go live any time without further waiting. If you're planning a stream for a specific date, verify your channel at least a day in advance.
Step 3: Maintain a Clean Channel Status
Your channel must be in good standing. YouTube's strike system works like this:
| Strike | Penalty | Duration |
|---|---|---|
| 1st strike | 1-week ban on uploads, streaming, posts | Strike stays on record for 90 days |
| 2nd strike | 2-week ban on the same activities | Strike stays for 90 days |
| 3rd strike (within 90 days) | Channel permanently terminated | Permanent |
To check your status, go to YouTube Studio, find the "Channel violations" card on your dashboard, and confirm you have zero active strikes.
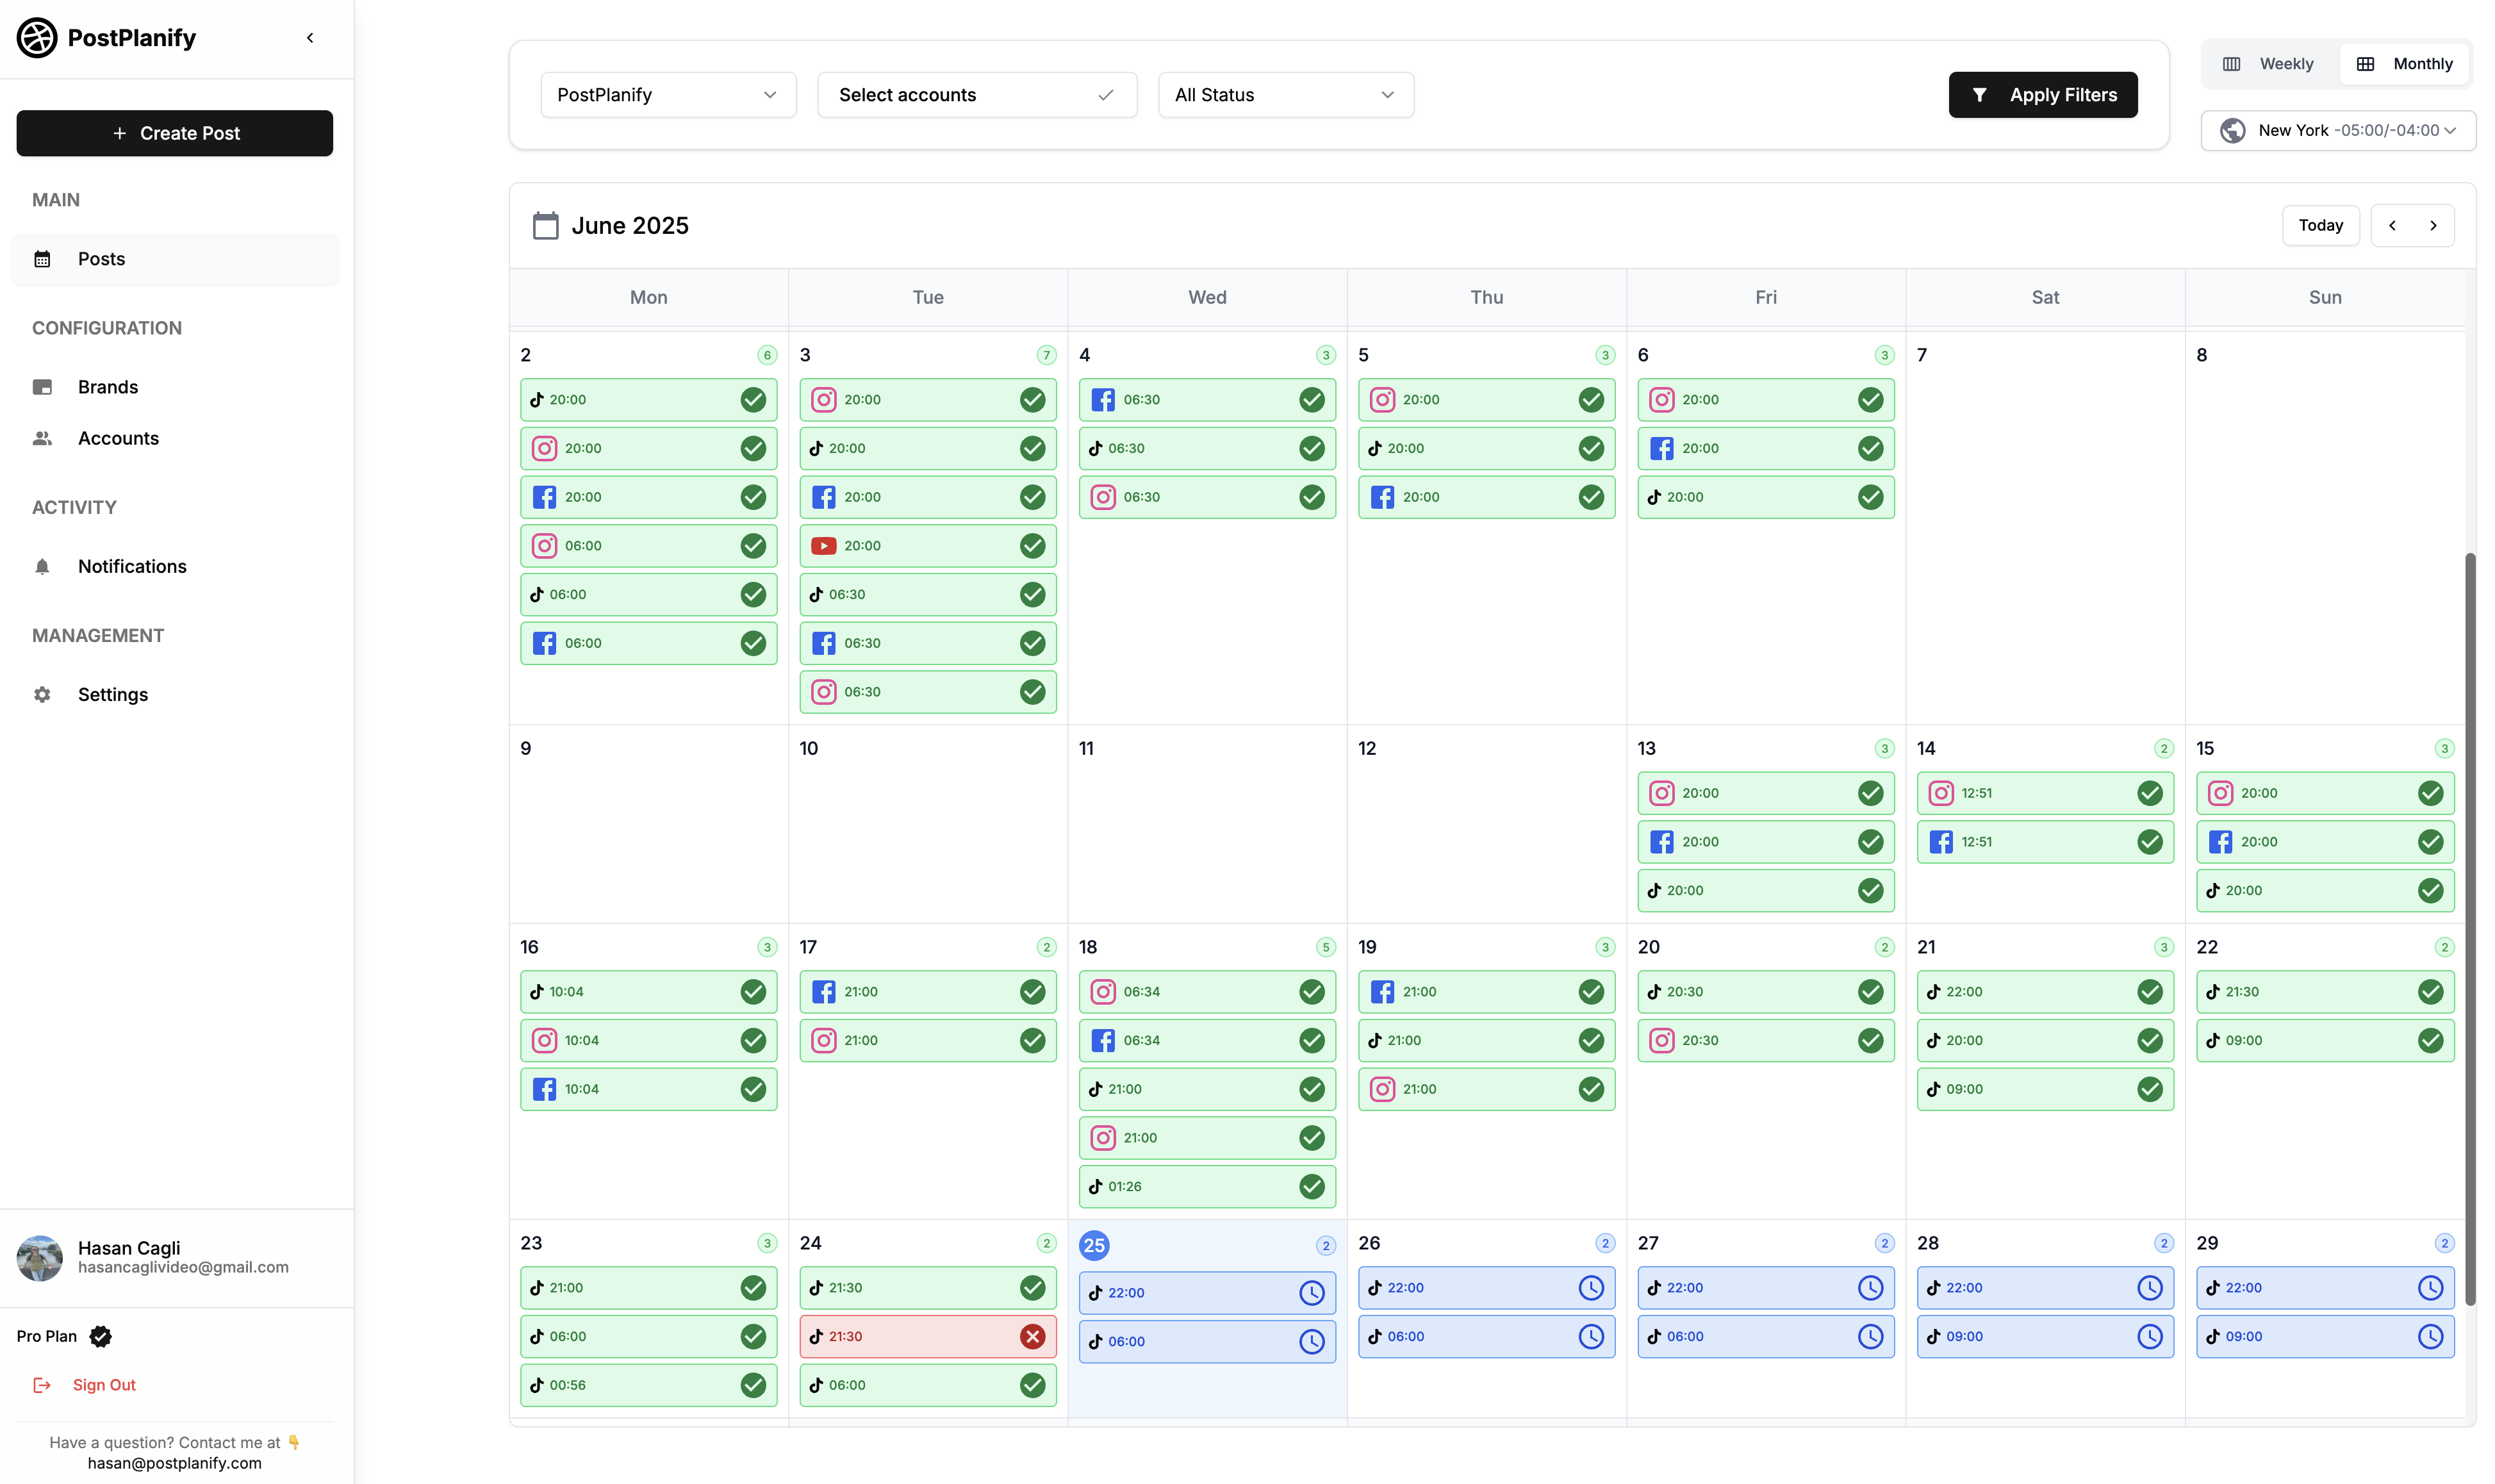
All your social media in one simple dashboard
Schedule posts, track analytics, and reply to comments/DMs — without switching tabs.

Engagement
+18%
Views
52.8k
Method 1: Go Live From Desktop Using YouTube Studio's Webcam
This is the simplest way to start streaming. No software to install, no subscriber requirement. Just your computer and a webcam.
Best for: Live Q&As, casual conversations, quick announcements, and first-time streamers who want to test the waters.
How to do it:
- Open YouTube Studio and click the "Create" button in the top-right corner.
- Select "Go Live" from the dropdown menu.
- Choose the "Webcam" option on the left side.
- Fill in your stream details: title, description, and category. Use keywords naturally in your title—for example, "Live Q&A: Beginner Photography Tips" is better than "My First Stream."
- Set your privacy to Unlisted for your first stream. This lets you test audio, video, and lighting without anyone watching.
- Upload a custom thumbnail. Even for live streams, a good thumbnail helps when the replay appears in search results.
- Click "Go Live" to start broadcasting.
Limitations: YouTube's built-in webcam streaming is intentionally simple. You can't share your screen, add overlays, switch between cameras, or use custom graphics. For those features, you need an encoder.
New in 2026 — Practice Mode: YouTube added a rehearsal feature that lets you start a stream privately, test everything, and then go public with one click. This eliminates the risk of accidentally going live while you're still setting up.
Method 2: Professional Streaming With OBS Studio (Free)
If you want custom graphics, screen sharing, multiple camera angles, or any kind of production value, you need encoder software. An encoder takes all your video and audio inputs, mixes them together, and sends a single feed to YouTube.
OBS Studio (Open Broadcaster Software) is the industry standard. It's free, open-source, and used by everyone from bedroom streamers to professional esports broadcasts.
Best for: Gaming streams, tutorials with screen sharing, professional-looking broadcasts, multi-camera setups.
How to set it up:
- Download and install OBS Studio from obsproject.com. The latest version (OBS 32) raised the default streaming bitrate from 2,500 to 6,000 Kbps to match modern quality standards.
- In YouTube Studio, go to the "Go Live" section, then select the "Stream" option (not Webcam).
- YouTube will generate a unique stream key. This is a private code that connects OBS to your channel. Never share your stream key.
- Copy the stream key.
- In OBS, go to Settings > Stream. Select "YouTube - RTMPS" as the service and paste your stream key.
- In the main OBS window, add Sources in the bottom panel: webcam, display capture (for screen sharing), images, text overlays, etc.
- Click "Start Streaming" in OBS to send your video feed to YouTube.
- Go back to YouTube Studio and click "Go Live" to make the broadcast public.
Recommended settings for YouTube streaming:
| Resolution | Bitrate | Upload Speed Needed |
|---|---|---|
| 720p @ 30fps | 2,500–4,000 Kbps | 5+ Mbps |
| 1080p @ 30fps | 4,500–6,000 Kbps | 8+ Mbps |
| 1080p @ 60fps | 6,000–9,000 Kbps | 10+ Mbps |
Use CBR (Constant Bitrate) rate control. If you have an NVIDIA, AMD, or Apple Silicon GPU, use your hardware encoder (NVENC, AMF, or VideoToolbox) to reduce CPU load.
You can check your upload speed at Speedtest.net. Your streaming bitrate should not exceed 80% of your total upload speed.
Method 3: Stream From Your Phone With Zero Subscribers (Third-Party Apps)
This is the section most guides miss entirely. YouTube's official mobile app requires 50 subscribers to go live (and you must be 18+). But third-party encoder apps connect to YouTube using an RTMP stream key—the same technology OBS uses on desktop. YouTube treats these connections as encoder streams, not mobile app streams, so the 50-subscriber limit doesn't apply.
You can go live from your phone with a brand-new channel that has zero subscribers.
Streamlabs Mobile (iOS & Android) — Best Overall
Streamlabs is the most popular mobile streaming app. It supports alerts, overlays, custom graphics, and connects to YouTube, Twitch, TikTok, Facebook, and more.
How to set it up:
- Download Streamlabs from the App Store or Google Play.
- Open the app and sign in with your YouTube/Google account.
- If your channel has fewer than 50 subscribers and the app can't auto-create a stream, go to YouTube Studio in your phone's browser, create a scheduled stream manually, and copy the RTMP stream key.
- In Streamlabs, paste the stream key under custom RTMP settings.
- Configure your camera, audio, and any overlays you want.
- Tap "Go Live."
PRISM Live Studio (iOS & Android) — Best for Creative Streaming
PRISM Live Studio by NAVER is a free app with built-in filters, effects, and even VTuber mode with motion capture support.
- Free plan covers basic streaming to YouTube
- PRISM Plus ($9.99/month) adds multistreaming to up to 6 platforms simultaneously
Other Mobile Encoder Apps
| App | Platform | Best For |
|---|---|---|
| Larix Broadcaster | iOS, Android | Lightweight IRL streaming |
| CameraFi Live | Android only | Professional mobile broadcasts |
| Omlet Arcade | iOS, Android | Gaming streams from mobile |
The Browser Workaround (No App Needed)
If you don't want to install any app, open YouTube Studio in your phone's mobile browser (Chrome, Safari, etc.). YouTube treats this as desktop access, so you can use the webcam streaming option with zero subscribers. The experience isn't as polished as a dedicated app, but it works.
All your social media in one simple dashboard
Schedule posts, track analytics, and reply to comments/DMs — without switching tabs.
Engagement
+18%
Views
52.8k
Method 4: Browser-Based Studios (StreamYard & Restream)
If OBS feels too technical but YouTube's built-in webcam is too basic, browser-based streaming platforms are the middle ground. They offer professional features—custom branding, guest invitations, screen sharing—through a simple web interface.
StreamYard
StreamYard is popular for podcasts, interviews, and any stream involving multiple people.
| Plan | Price | Resolution | Multistream | Watermark |
|---|---|---|---|---|
| Free | $0 | 720p | 1 destination | Yes |
| Core | $35.99/mo (annual) | 1080p | Multiple | No |
The free plan is limited to 20 hours of streaming per month, 1 destination at a time, and includes a StreamYard watermark on your video. It's enough to get started, but serious streamers will want to upgrade.
Restream
Restream focuses on multistreaming—broadcasting to multiple platforms simultaneously.
| Plan | Price | Channels | Watermark |
|---|---|---|---|
| Free | $0 | 2 channels | Yes |
| Standard | $16/mo | 3 channels | No |
Restream's free plan is more generous than StreamYard's for multistreaming since it lets you broadcast to 2 platforms simultaneously at no cost. Both platforms are browser-based and require zero subscriber count.
Equipment Tips: What Actually Matters for Stream Quality
You don't need expensive gear to start streaming, but a few basics make a big difference.
Audio Is More Important Than Video
Viewers will tolerate average video quality, but bad audio makes people leave immediately. If you're going to invest in one thing, make it a decent microphone. Even a $30 USB mic is a massive upgrade over your laptop's built-in microphone.
Lighting Basics
You don't need a ring light (though they help). Sit facing a window during the day for natural light. At night, place a desk lamp behind your monitor pointing toward your face. Avoid backlighting—sitting with a window behind you will turn you into a silhouette.
Internet Connection
Use a wired ethernet connection whenever possible. Wi-Fi is unpredictable. For a stable 1080p stream, you need at least 8-10 Mbps of consistent upload speed. Run a speed test before every stream.
Your Final Pre-Flight Checklist
Run through this about 30 minutes before going live:
- Test your audio. Record a 10-second clip and play it back. Is it clear? Any background noise?
- Check your lighting. Is your face well-lit and visible?
- Run a speed test. Is your upload speed above your streaming bitrate?
- Do a private test stream. Use YouTube's Practice Mode or stream to an unlisted URL. Check everything end-to-end.
- Close unnecessary apps. Free up CPU and bandwidth for your stream.
What Small Channels Need to Know: Viewer Limits and Auto-Privacy
YouTube applies two restrictions to channels with fewer than 1,000 subscribers that aren't widely known:
Stream Replays Are Automatically Set to Private
When your stream ends, YouTube auto-sets the replay to Private if you have fewer than 1,000 subscribers. This means nobody can find or watch the replay unless you manually change it.
Fix: After your stream ends, go to YouTube Studio > Content > Live, find the stream, click "Visibility", and change it to Public or Unlisted.
Viewer Concurrency May Be Capped
Creator reports suggest that channels under 1,000 subscribers may have a concurrent viewer cap of approximately your subscriber count + 25 viewers. A channel with 100 subscribers might max out around 125 concurrent viewers.
YouTube has not published an official formula for this. The cap appears to primarily affect mobile app streams and lifts once you cross 1,000 subscribers.
YouTube's New Age Requirements for Livestreaming (July 2025)
As of July 22, 2025, YouTube raised the minimum age for solo livestreaming from 13 to 16:
| Age | Can They Solo Livestream? | Conditions |
|---|---|---|
| 18+ | Yes | No restrictions (50 subs for mobile app, 0 for desktop/encoder) |
| 16-17 | Yes (desktop only) | Cannot use YouTube mobile app for streaming |
| 13-15 | Only with an adult | An adult must be visibly present and actively participate in the stream |
| Under 13 | No | Cannot use YouTube at all (COPPA) |
If a creator aged 13-15 streams without a visible adult, YouTube may disable live chat, restrict features, or take down the stream entirely. Repeated violations can result in temporary loss of streaming access.
How to Promote Your Stream and Actually Get Viewers
Going live is half the battle. Without promotion, nobody knows your stream is happening.
Schedule Your Stream in Advance
Don't just spontaneously go live. In YouTube Studio, click Create > Go Live > Schedule, set a date and time, and YouTube will generate a shareable link. Viewers can click "Set Reminder" so they're notified when you start.
Promote Across All Your Platforms
Once you have the stream link, share it everywhere:
- Instagram & Facebook Stories: Use the countdown sticker.
- X (formerly Twitter): Post the link and pin the tweet.
- LinkedIn: Create an event and invite connections.
- YouTube Community Tab: If you have access, post a direct announcement.
A social media scheduler like PostPlanify makes this much easier. Instead of manually posting to each platform, you can schedule all your promotional posts in advance—teasers three days out, a reminder the day before, and a "going live now" post right before you start. This works across Instagram, Facebook, X, TikTok, LinkedIn, and more from one dashboard.
To maximize the impact of your announcements, check our guide on the best time to post on social media.
Repurpose Your Stream Into More Content
A single livestream can fuel your content calendar for a week:
- YouTube Shorts: YouTube's AI now auto-generates highlight clips from your stream. You can also manually clip the best moments. Learn more about how to schedule YouTube Shorts.
- TikTok & Instagram Reels: Export vertical clips and post them as Reels or TikToks. Our guide on scheduling Instagram Reels vs TikTok videos covers how to manage this efficiently.
- Blog posts or threads: Summarize key takeaways from your stream as a written post on LinkedIn or X.
This approach is part of a broader content repurposing strategy that helps you get maximum value from every piece of content you create.
YouTube Live vs Twitch vs TikTok Live vs Instagram Live
If you're choosing where to start livestreaming, here's how YouTube compares to the other major platforms:
| Feature | YouTube Live | Twitch | TikTok Live | Instagram Live |
|---|---|---|---|---|
| Subscriber/follower requirement | 0 (desktop), 50 (mobile app) | 0 | 1,000 followers | 0 |
| Age requirement | 16+ solo, 13+ with adult | 13+ | 18+ | 16+ |
| Max stream length | 12 hours (default), up to 24h | Unlimited | 60 min (most), 4h (1K+ followers) | 4 hours |
| Stream replay | Saved automatically | Saved for 7-60 days | Only if manually saved | Not saved |
| Monetization | Super Chat, ads, memberships (500+ subs) | Subscriptions, bits, ads (Affiliate+) | Gifts (varies by region) | Badges (limited) |
| Discoverability | Search + Browse + Shorts feed (2026) | Browse + Categories | For You Page | Explore (limited) |
| Content shelf life | Permanent (replays indexed in search) | VODs expire unless clipped | Disappears unless saved | Disappears after stream |
| Best for | Tutorials, long-form, evergreen content | Gaming, community, marathon streams | Short entertainment, trends | Q&As, casual connection |
Why YouTube wins for new creators: YouTube is the only major platform where stream replays are permanently searchable. A livestream you do today can generate views for years through YouTube search and recommendations — no other platform offers this. Combined with zero subscriber requirements on desktop, YouTube is the most accessible platform for new streamers who want their content to have lasting value.
Where others win: Twitch has a stronger real-time community culture for gaming. TikTok Live has unmatched viral discovery potential (but requires 1,000 followers). Instagram Live works best for creators who already have an Instagram audience.
New YouTube Live Features in 2026
YouTube announced its biggest update to Live at the Made on YouTube 2025 event. These features are rolling out throughout 2026:
- Dual-Format Streaming: Broadcast in horizontal and vertical simultaneously. Vertical viewers see your stream in the Shorts feed. Both formats share a single unified chat.
- Live Reactions: Start a vertical livestream on mobile and react to another creator's live broadcast in real time.
- Practice Mode: Test your entire setup without going live. When you're ready, go public with one click.
- AI-Powered Highlights: YouTube automatically selects the best moments from your stream and generates shareable Shorts.
- Members-Only Streams: Switch from a public stream to members-only mid-broadcast without disruption.
- Side-by-Side Ads: A new non-intrusive ad format that runs next to your stream content instead of interrupting it.
Over 30% of daily logged-in YouTube viewers watched live content in Q2 2025, and these features show YouTube is investing heavily in making livestreaming more accessible for creators of all sizes.
All your social media in one simple dashboard
Schedule posts, track analytics, and reply to comments/DMs — without switching tabs.
Engagement
+18%
Views
52.8k
A Realistic Plan to Reach 1,000 Subscribers
While you can stream without 1,000 subscribers, reaching this milestone matters. It unlocks:
- Mobile app streaming without third-party workarounds
- YouTube Partner Program ad revenue (with 4,000 watch hours)
- Stream replays that stay Public by default
- Removal of the viewer concurrency cap
Not sure how close you are? Our guide on how to see your YouTube subscribers covers every way to check your exact count and track your progress toward the 1,000-subscriber milestone.
Updated YouTube Partner Program (YPP) Requirements
YouTube now has a two-tier monetization system:
| Tier | Subscribers | Watch Hours / Shorts Views | What You Unlock |
|---|---|---|---|
| Tier 1 (Fan Funding) | 500 | 3,000 hours OR 3M Shorts views | Super Chat, memberships, gifts during streams |
| Tier 2 (Full Monetization) | 1,000 | 4,000 hours OR 10M Shorts views | All Tier 1 features + ad revenue + YouTube Premium revenue |
This means you can start earning from your livestreams through Super Chat at just 500 subscribers—you don't need to wait until 1,000.
Growth Strategies That Actually Work
- Pick a niche and stick to it. A channel about "woodworking for apartment dwellers" grows faster than a channel about "whatever I feel like today." The algorithm rewards consistency. If you're considering content for younger audiences, our guide on how to start a YouTube channel for kids covers the specific rules and strategies for that niche.
- Optimize every upload for search. Use keywords your viewers would actually search for in your title and description. A YouTube description generator can help with this.
- Create YouTube Shorts. A single viral Short can bring thousands of subscribers overnight. Turn your best livestream moments into Shorts using YouTube's built-in AI clipping.
- Engage with every comment. Reply to everyone, especially in the early days. This builds loyalty and signals to YouTube that your content generates conversation.
- Track your engagement. Use a YouTube engagement calculator to monitor your interaction rates over time and identify what content resonates most.
- Post consistently. A content calendar helps you stay on schedule. Aim for at least one upload per week alongside your streams.
Troubleshooting & FAQs
Why can't I go live on YouTube from my phone?
YouTube's mobile app requires 50 subscribers (for users 18+) to go live. If you have fewer than 50 subscribers, you can bypass this by using a third-party encoder app like Streamlabs or PRISM Live Studio, which connects via RTMP stream key. Alternatively, open YouTube Studio in your phone's mobile browser—YouTube treats this as desktop streaming with no subscriber requirement.
Is the 1,000 subscriber rule for YouTube livestreaming still real?
No. This is the most common misconception. YouTube used to require 1,000 subscribers for mobile livestreaming, but lowered it to 50 subscribers for adults 18+. Desktop and encoder-based streaming has never had a subscriber minimum. You can go live from a computer with zero subscribers.
Can I make money from livestreams before 1,000 subscribers?
Yes, partially. YouTube's expanded Partner Program lets you earn through Super Chat, channel memberships, and gifts starting at just 500 subscribers (plus 3,000 watch hours or 3M Shorts views). Full ad revenue requires 1,000 subscribers. Before hitting 500, you can still promote affiliate links, your own products, or services during your streams.
What's the best free software for YouTube livestreaming?
OBS Studio is the gold standard. It's free, open-source, and supports custom scenes, overlays, screen sharing, multi-camera setups, and more. The latest version (OBS 32) includes a plugin manager, improved NVIDIA RTX audio, and a default bitrate of 6,000 Kbps. For a simpler option that requires no download, use YouTube Studio's built-in webcam feature.
Why is my stream replay set to Private after going live?
YouTube automatically sets stream replays to Private for channels with fewer than 1,000 subscribers. To fix this, go to YouTube Studio > Content > Live tab, find your stream, and manually change the visibility to Public or Unlisted.
Do small YouTube channels have viewer limits on livestreams?
Creator reports suggest channels under 1,000 subscribers may have a concurrent viewer cap of roughly subscriber count + 25. For example, a channel with 200 subscribers might max out at ~225 concurrent viewers. YouTube hasn't published an official formula, but this limit lifts once you reach 1,000 subscribers.
How old do you have to be to livestream on YouTube?
As of July 22, 2025, you must be at least 16 years old to livestream solo on YouTube. Creators aged 13-15 can only appear on streams when a supervising adult is visibly present and actively participating. The mobile app specifically requires you to be 18+ to go live.
Can I livestream on YouTube and other platforms at the same time?
Yes, this is called multistreaming. Tools like Restream (free for 2 platforms) or Streamlabs allow you to broadcast to YouTube, Twitch, Facebook, and other platforms simultaneously from a single stream. YouTube's Terms of Service do not prohibit multistreaming. To promote across all platforms, a tool like PostPlanify can schedule announcements to every platform so viewers know where to find you.
What internet speed do I need to livestream on YouTube?
For 720p streaming, you need at least 5 Mbps upload. For 1080p at 30fps, aim for 8-10 Mbps. For 1080p at 60fps, you want 10+ Mbps. Always use a wired ethernet connection instead of Wi-Fi for reliability. Your streaming bitrate should not exceed 80% of your total upload speed.
Quick Reference: Livestreaming Checklist
- Verify Your Channel: Go to
youtube.com/verifyand enter a phone number. - Wait 24 Hours: Livestreaming activates 24 hours after verification. Plan ahead.
- Check Your Channel Status: Ensure zero active Community Guidelines strikes.
- Choose Your Method:
- Desktop Webcam (YouTube Studio): Simplest, no software needed, 0 subscribers.
- Desktop Encoder (OBS Studio): Professional features, free, 0 subscribers.
- Mobile Encoder App (Streamlabs): Stream from your phone, 0 subscribers, bypasses the 50-sub mobile limit.
- Browser Studio (StreamYard/Restream): Easy interface, guest features, 0 subscribers.
- YouTube Mobile App: Requires 50 subscribers and age 18+.
- Schedule and Promote: Create a scheduled stream to get a shareable link. Promote across all social media platforms.
- Run a Tech Check: Use Practice Mode or do a private test stream to check audio, video, and internet.
- After the Stream: Change replay visibility from Private to Public if you have under 1,000 subscribers.
Ready to build an audience for your next livestream? PostPlanify lets you schedule promotional posts across YouTube, Instagram, TikTok, X, Facebook, LinkedIn, and more—all from one dashboard. Start your free 7-day trial today.
Related Reading
YouTube guides:
- How to Schedule YouTube Shorts
- Best Time to Upload a YouTube Video
- Best YouTube Scheduling Tools
- How to See Your YouTube Subscribers
- When Does YouTube Start Paying You?
- How Much Does YouTube Pay for 1,000 Views?
- How to Start a YouTube Channel for Kids
- How to Clip a YouTube Video
- How to Recover Your YouTube Account
- Does YouTube Automation Work?
Cross-platform scheduling & strategy:
All your social media in one simple dashboard
Schedule posts, track analytics, and reply to comments/DMs — without switching tabs.
Engagement
+18%
Views
52.8k
About the Author

Hasan Cagli
Founder of PostPlanify, a content and social media scheduling platform. He focuses on building systems that help businesses, agencies, and teams plan, publish, and manage content and social media more efficiently across platforms.


