
YouTube is sitting on hours of your best content, and most of it will never be seen twice. The fix is clipping — pulling the best 15 to 60 seconds out of a long video and turning it into something shareable.
But "clipping" means different things depending on what you're trying to do. YouTube's built-in Clip tool, the Studio Editor, the "Edit into a Short" feature, AI auto-clippers, and local editing software all do different things with different limitations. Using the wrong method wastes time and sometimes permanently alters your original video.
This guide covers every method available in 2026, explains exactly when to use each one, and includes the optimal clip lengths for every platform you'd want to post to.
YouTube Clips vs Shorts vs Timestamps: Which One Do You Need?
Before you start clipping anything, you need to understand the three features YouTube offers natively — because they solve different problems and people confuse them constantly.
| Feature | What It Does | Length | Creates New Video? | Shows on Your Channel? | Monetizable? |
|---|---|---|---|---|---|
| Clips | Highlights a 5-60 second segment of an existing video with a shareable link | 5-60 sec | No — links back to original | No | No (original video earns) |
| Shorts | Creates a new standalone short-form video on your channel | Up to 3 min | Yes — new upload | Yes — appears in Shorts feed | Yes |
| Timestamps | Links directly to a specific moment in a video | N/A (starts playback at that point) | No | No | No |
Use Clips when you want to share a specific moment from someone else's video (or your own) without creating new content. The clip links back to the original, giving the creator full credit and watch time.
Use Shorts when you want to repurpose your own long-form content into a new standalone video that lives on your channel, appears in the Shorts feed, and can be monetized. This is especially useful for creators running kids' channels who need to turn longer videos into bite-sized clips — see our guide on how to start a YouTube channel for kids for content strategy tips.
Use Timestamps when you just want to send someone to a specific moment in a video — no editing, no new content, just a link that starts playback at the right second.
The common mistake: Creators who want to repurpose their content use the Clip tool when they should be creating Shorts. Clips don't appear on your channel and can't be monetized. If you want the content to work for you, you need a Short or a separately uploaded video.
Method 1: YouTube's Built-in Clip Tool (Desktop and Mobile)
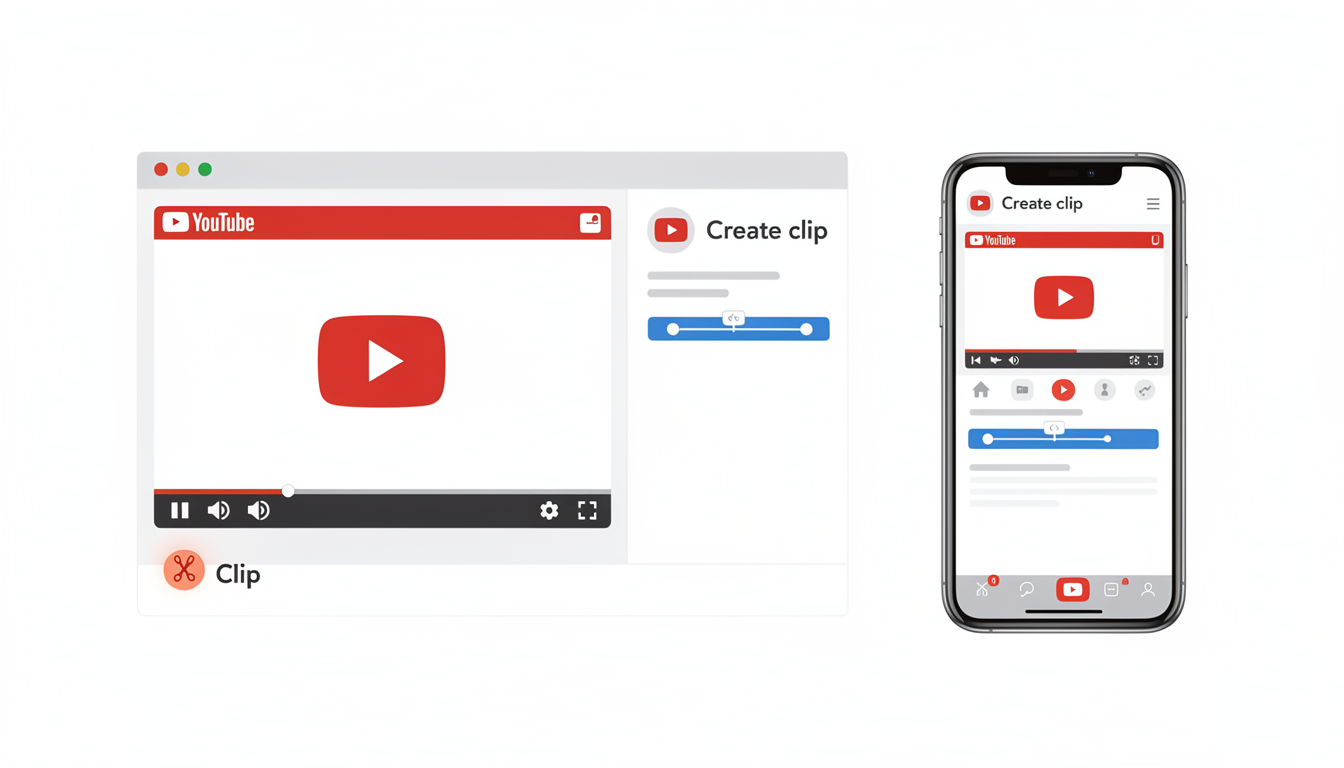
The Clip tool is YouTube's simplest option. It creates a shareable highlight from any eligible video — yours or someone else's — without downloading, editing, or uploading anything.
What you get: A link to a 5-60 second segment that anyone can watch. The clip plays in a loop and includes a "Watch full video" button linking back to the original.
What you don't get: A downloadable file, a new video on your channel, or any editing capabilities (no captions, no filters, no cropping). If you need an actual video file to edit, you'll want to download the YouTube video first and use one of the editing methods covered later in this guide.
On Desktop
- Go to the video you want to clip on youtube.com
- Below the video player, click the scissors icon labeled Clip (it's in the row with Like, Share, and Save)
- A "Create clip" panel opens on the right side
- Drag the blue slider to select your segment — minimum 5 seconds, maximum 60 seconds
- Type a title for your clip (up to 140 characters)
- Click Share clip — you'll get a link to copy or options to share directly to social platforms
On Mobile (Android and iOS)
- Open the YouTube app and play the video
- Tap the Clip button below the video (you may need to swipe the action bar left to find it)
- Drag the slider to select your 5-60 second segment
- Add a title and tap Share clip
If you don't see the Clip button: The creator has disabled clipping for that video, or the video is shorter than 2 minutes. Private, unlisted, and videos made for kids also can't be clipped. Livestreams shorter than 2 minutes or currently live streams that have been going for less than a few minutes may also not show the option.
Method 2: Trim and Cut in YouTube Studio
YouTube Studio's built-in editor lets you trim the beginning, end, or cut out sections from the middle of videos you've already uploaded. This is different from the Clip tool — it permanently modifies your existing video rather than creating a shareable highlight.
When to use this: You want to remove a slow intro, cut a mistake, or tighten an already-published video without re-uploading.
When NOT to use this: You want to create a new, separate clip. Use Shorts or download-and-edit instead.
Step-by-Step
- Go to studio.youtube.com and sign in
- Click Content in the left sidebar
- Click the title or thumbnail of the video you want to edit
- Select Editor from the left menu
- Click Trim & cut
To trim the start or end: Drag the blue edges of the timeline inward to remove footage from the beginning or end.
To cut a middle section: Click New cut, then position the split markers around the section you want to remove. Everything between the markers gets deleted.
- Click Preview to review your changes
- Click Save when satisfied
Critical Warnings
- Changes are permanent. YouTube requires you to check an "I acknowledge that these changes are permanent" box before saving. There is no "revert to original" option. If you think you might regret the edit, download your original video first as a backup.
- High-view videos are restricted. For videos with over 100,000 views, you can't save trim edits directly. You'll need to use "Save as new video" instead, which creates a separate upload.
- Processing takes time. After saving, changes may take several minutes to appear on the live video.
Method 3: Turn a Video Into a YouTube Short
This is the method most creators actually need when they say they want to "clip" a video. It takes a segment from an existing long-form video and publishes it as a new YouTube Short on your channel.
Since October 2024, YouTube Shorts can be up to 3 minutes long (up from the previous 60-second limit). Any video with a vertical or square aspect ratio under 3 minutes is automatically classified as a Short.
From YouTube Studio (Desktop)
- Go to studio.youtube.com
- Click Content, then find the video you want to repurpose
- Click the three-dot menu next to the video and select Edit into a Short
- YouTube opens the Shorts editor with your video loaded
- Select up to 60 seconds of footage using the timeline (the Shorts editor currently limits selections to 60 seconds even though Shorts can be 3 minutes — for longer Shorts, upload separately)
- Add text, filters, voiceover, or music
- Add a title, description, and visibility settings
- Click Upload Short
From the YouTube App (Mobile)
- Open YouTube and navigate to your video
- Tap Remix (or the three-dot menu) and select Edit into a Short
- Select your segment and apply edits
- Publish as a Short
Pro tip: When creating Shorts from existing videos, YouTube carries over some SEO juice from the original. Include relevant keywords in your Short's title and description, and add the original video link in the description to drive traffic both ways. Need help writing optimized titles and descriptions? Try the YouTube Description Generator to save time.
All your social media in one simple dashboard
Schedule posts, track analytics, and reply to comments/DMs — without switching tabs.

Engagement
+18%
Views
52.8k
Method 4: AI Auto-Clipping Tools
This is the 2026 approach that most guides skip entirely, and it's how creators who repurpose content at scale actually work. AI clipping tools analyze your long-form video, identify the most engaging moments, and automatically generate multiple short clips — with captions, reframing, and platform-specific formatting.
Instead of manually scrubbing through a 45-minute video to find the best 30 seconds, AI does it in minutes.
How AI Clipping Works
- You paste a YouTube URL or upload a video
- The AI analyzes speech patterns, visual changes, engagement hooks, and topic transitions
- It generates multiple clip suggestions (typically 5-15 per video), each scored by predicted engagement
- You review, edit if needed, and export in the right format for each platform
Top AI Clipping Tools in 2026
Opus Clip The most popular option. Paste any YouTube URL and it generates vertical clips with auto-captions, AI reframing (keeps the speaker centered), and a "virality score" for each clip. Free tier gives you 60 minutes of processing per month with a watermark. Paid plans remove the watermark and add features like brand templates and direct posting.
Descript More of a full editing suite than a pure clipper, but its AI highlight detection and text-based editing (edit the video by editing the transcript) make it powerful for repurposing. Better for creators who want more control over the final output.
Riverside Magic Clips If you record podcasts or interviews on Riverside, Magic Clips automatically identifies key moments using AI and generates clips directly from your recordings. Tightly integrated but limited to content recorded on their platform.
CapCut (Desktop) CapCut's auto-reframe and auto-caption features make it a strong free option for manual clipping with AI assistance. You still select the segment yourself, but the AI handles vertical reframing and subtitle generation.
When AI Clipping Makes Sense
- You publish long-form content weekly and want to generate multiple Shorts/Reels/TikToks from each video
- You want to test which moments resonate without manually creating dozens of clips
- You need auto-captions and vertical reframing without doing it yourself
- You manage multiple channels and need to automate social media posts at scale
When It Doesn't
- You have a very specific creative vision for each clip (AI can't read your mind)
- Your content is highly visual with minimal speech (AI relies heavily on speech analysis)
- You only clip occasionally — the learning curve of setting up a new tool isn't worth it for one clip a month
Method 5: Download and Edit Locally
Sometimes you need full editing control — custom transitions, color grading, picture-in-picture, or combining clips from multiple videos. For this, you need to download the video and edit in dedicated software.
How to Download Your Own YouTube Videos
From YouTube Studio:
- Go to studio.youtube.com → Content
- Click the three-dot menu next to your video
- Select Download — you'll get the original quality MP4
Important: You can only download videos you own. Downloading other creators' videos requires their permission and must respect copyright law.
Recommended Editing Software
CapCut (Desktop) — Free editing software that's beginner-friendly, with strong auto-caption and template features. Best for creators making Shorts, Reels, and TikToks.
Movavi Video Editor — Beginner-oriented desktop editor for making tutorials, product demos, and creator videos easily. The appeal is a familiar timeline, ready-made effects, and AI tools that cover subtitles, audio cleanup, background removal, and auto-tracked cropping.
iMovie (Mac/iOS) — Pre-installed on Apple devices. Simple timeline editing, good for basic trimming and transitions. Limited format options.
DaVinci Resolve (Windows/Mac/Linux) — Professional-grade editor that's genuinely free (not a trial). Steep learning curve but unmatched color grading and audio tools. Overkill for simple clips, perfect if you want cinema-quality output.
Basic Clipping Workflow
- Download your video from YouTube Studio
- Import into your editor of choice
- Cut to the segment you want (mark in-point and out-point)
- Change aspect ratio to 9:16 if targeting Shorts, Reels, or TikTok — use the YouTube Shorts Safe Zone Checker to make sure nothing important gets cut off by UI overlays
- Add captions (critical — most short-form video is watched on mute)
- Export at 1080x1920 resolution for vertical, or 1920x1080 for horizontal
- Upload to your target platform

How to Share Clips Across Every Platform
Clipping the video is only half the job. The other half is getting it onto every platform where your audience lives — and each platform has different requirements.
Optimal Clip Length by Platform
| Platform | Maximum Length | Best Performing Length | Aspect Ratio | Key Note |
|---|---|---|---|---|
| YouTube Shorts | 3 minutes | 50-58 seconds | 9:16 | Completion rate matters most — shorter is safer |
| TikTok | 60 minutes | 24-38 seconds | 9:16 | Hook in first 2 seconds or lose them |
| Instagram Reels | 3 minutes | 15-30 seconds | 9:16 | 7-15 second Reels get the most loops and shares |
| X (Twitter) | 2 min 20 sec | 30-45 seconds | 16:9 or 9:16 | Native upload outperforms shared links |
| 10 minutes | 30-90 seconds | 16:9 or 1:1 | Professional context — value-first content wins | |
| Facebook Reels | 3 minutes | 15-30 seconds | 9:16 | Similar behavior to Instagram Reels |
The universal rule: Pacing matters more than length. A tight 45-second clip with no dead air will outperform a slow 15-second clip every time. Cut ruthlessly — if a moment doesn't earn the next second of attention, remove it.
Posting Clips Across Multiple Platforms
If you're repurposing one YouTube video into clips for 4-5 platforms, you have two options:
Manual approach: Export your clip, then upload individually to each platform. This lets you customize captions, hashtags, and descriptions per platform, but it's time-consuming. Tools like the YouTube Hashtag Generator and TikTok Hashtag Generator can speed up the per-platform optimization.
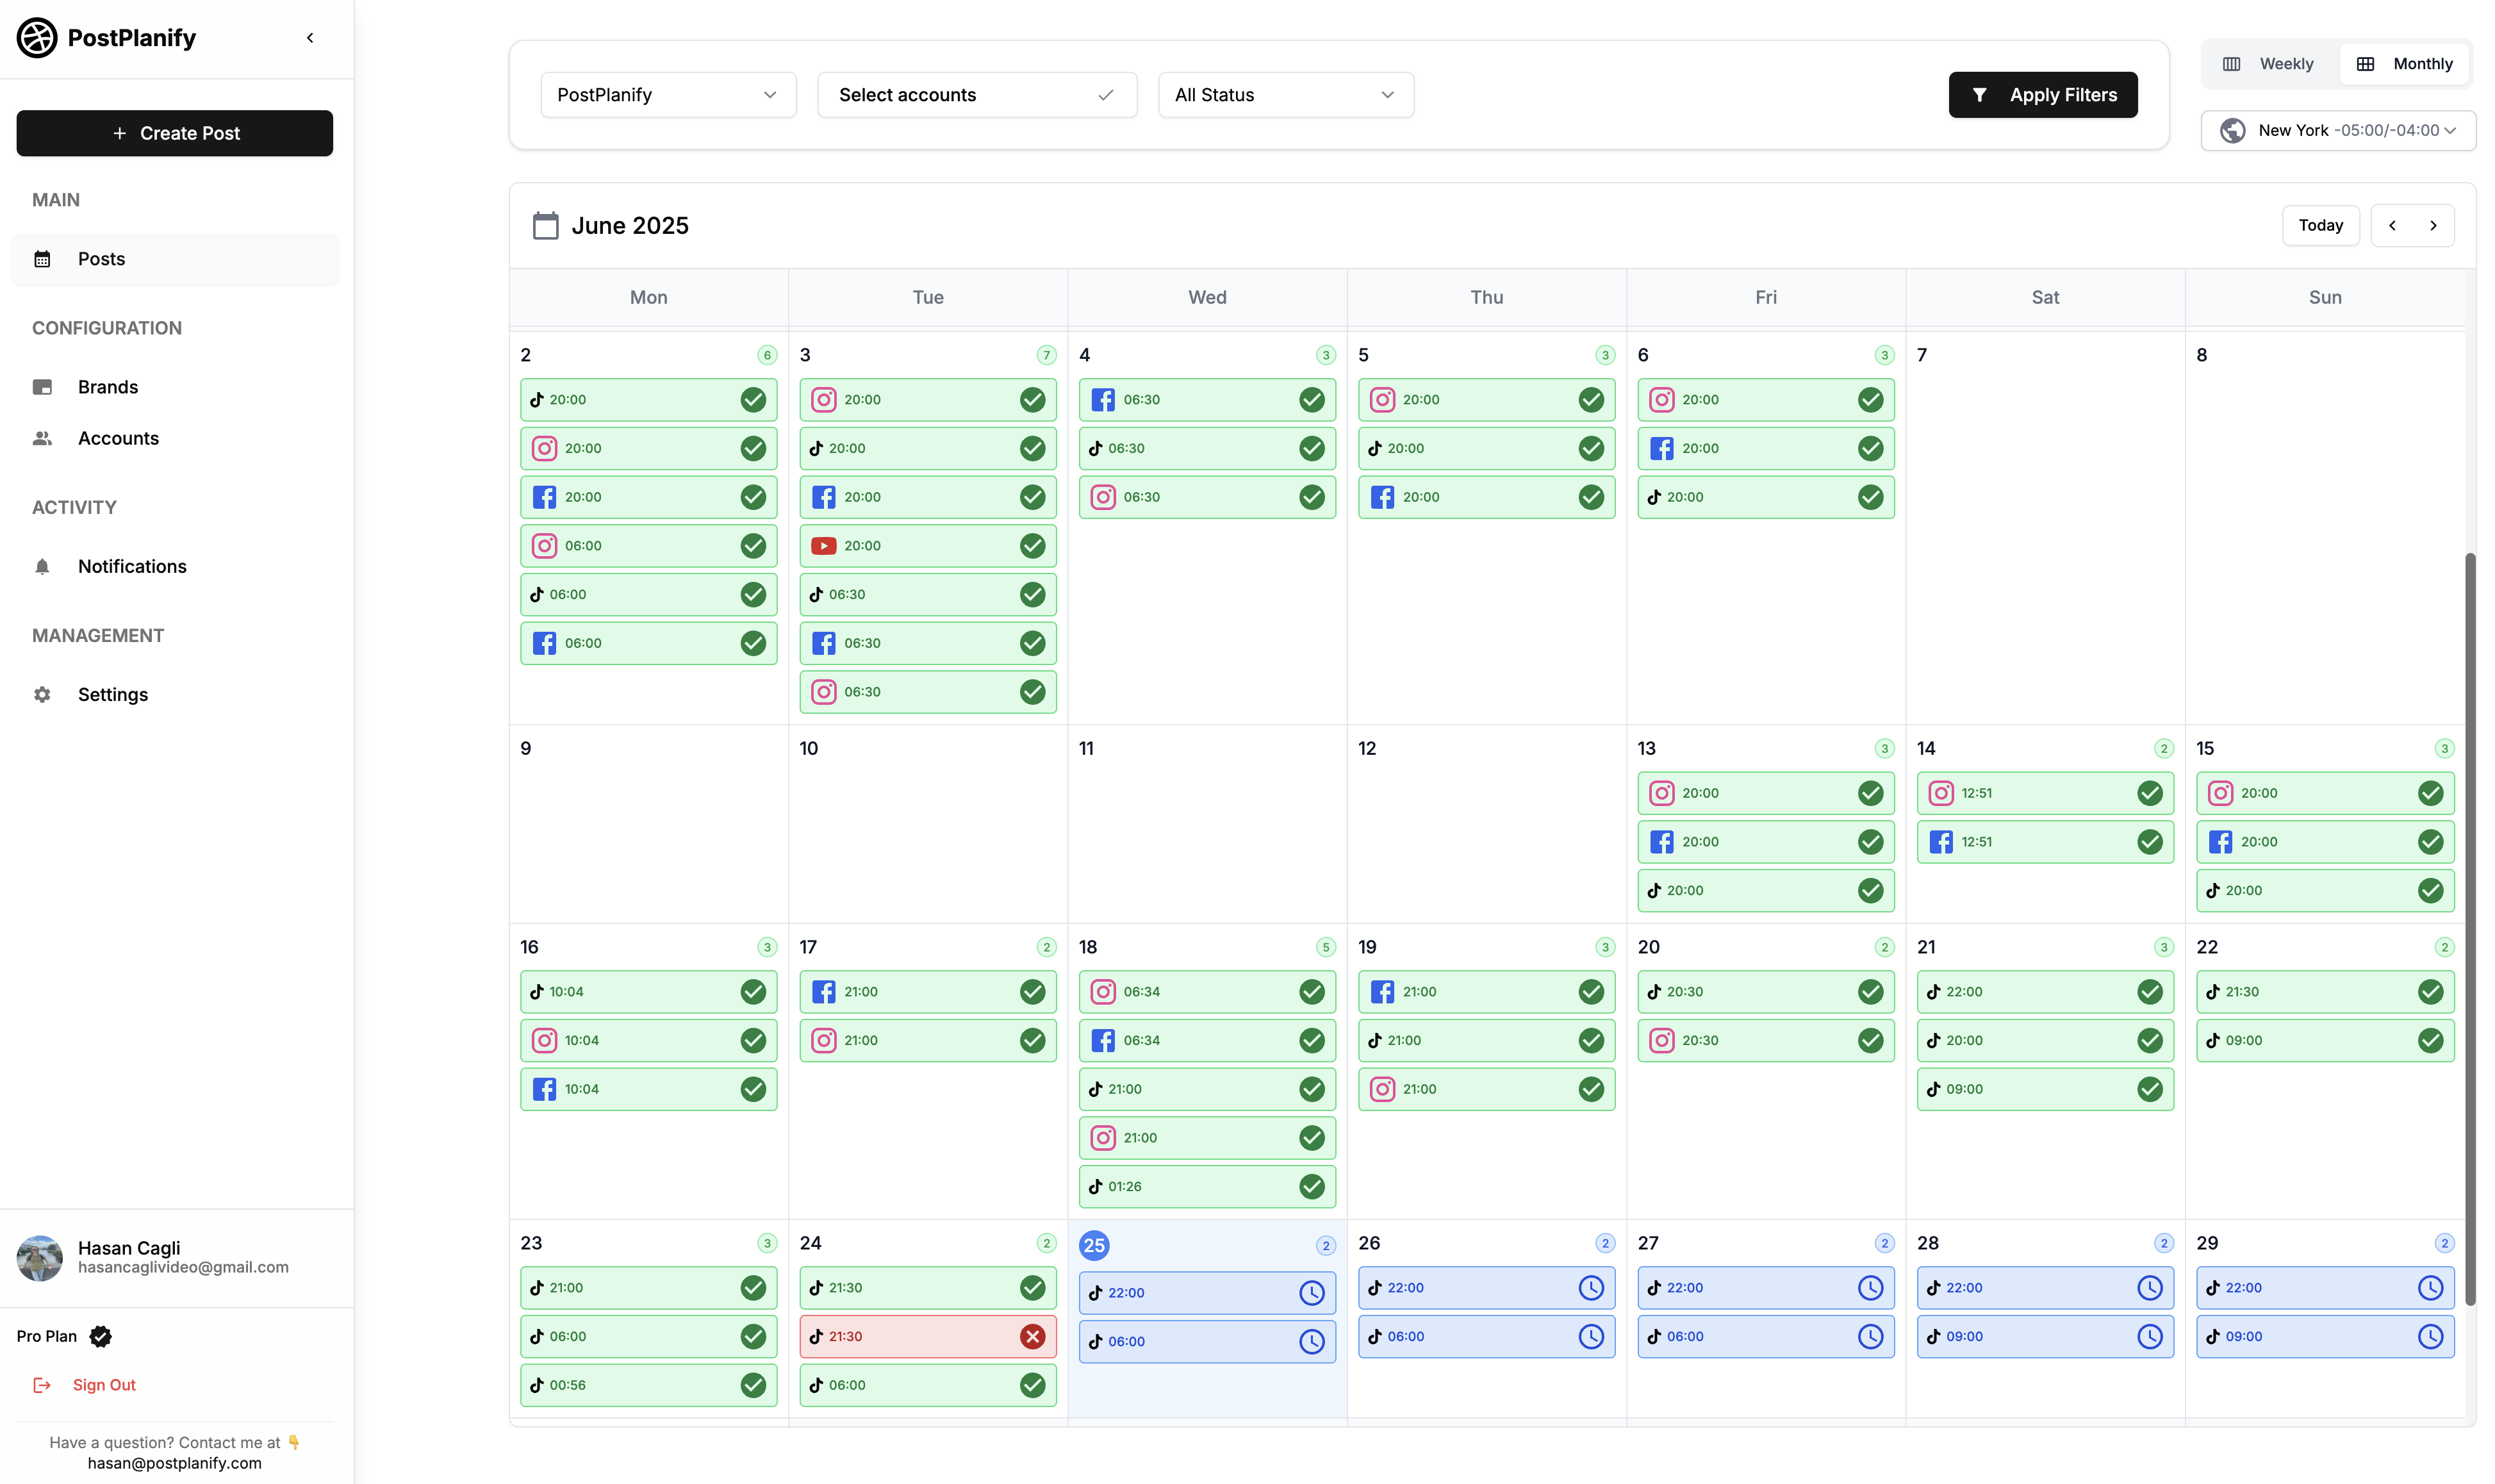
Scheduling approach: Use a multi-platform scheduler like PostPlanify to upload once and distribute to YouTube, TikTok, Instagram, X, LinkedIn, and Facebook from a single dashboard. This is significantly faster when you're posting multiple clips per week across multiple accounts. For a detailed comparison of tools that handle YouTube uploads, see our guide to the best YouTube scheduling tools.
If you're already scheduling your regular social content, adding clips to the same workflow keeps everything in one content calendar instead of scattered across five different apps.
Related: How to Schedule YouTube Shorts | How to Schedule TikTok Posts | How to Schedule Posts on X | How to Schedule Instagram Reels
How Clips Affect Your YouTube Analytics
Understanding how clips impact your metrics helps you decide whether clipping is worth the effort — and which clips are driving results.
Tracking Clip Performance in YouTube Studio
YouTube Studio provides clip-specific analytics under Analytics → Content → Clips. Here's what each metric tells you:
| Metric | What It Measures | Why It Matters |
|---|---|---|
| Clip views | Number of times your clip was watched | Shows which moments resonate most with sharers |
| Traffic from clips | Watch time on the original video driven by "Watch full video" clicks | Measures how effectively clips convert to full video views |
| Top clips | Ranked list of your most-viewed clips | Identifies your most shareable moments for future content planning |
| External traffic | Where clips are being shared (social platforms, messaging apps, embed sites) | Shows which platforms your audience uses to share your content |
What Clips Do and Don't Count Toward
- Watch time for YPP: Clip views do not count toward the 4,000 watch hour requirement. Only views on the full original video count.
- Monetization: Clips themselves are not monetized. However, if a clip viewer clicks "Watch full video," that full video view can generate ad revenue — see how much YouTube pays per 1,000 views for earnings by niche.
- View count: Clip plays are counted separately and do not inflate the original video's view count.
- Subscriber growth: Clips include a subscribe button. Subscriptions from clips are credited to the original video in your analytics.
Using Clip Data to Improve Future Content
If certain moments get clipped repeatedly, those moments reveal what your audience finds most share-worthy. Use this data to:
- Structure future videos around similar hooks, punchlines, or visual moments
- Create Shorts proactively from the types of moments that get clipped most often
- Identify your "clippable" content style — some creators' best clips are funny moments, others are tips or reveals
All your social media in one simple dashboard
Schedule posts, track analytics, and reply to comments/DMs — without switching tabs.
Engagement
+18%
Views
52.8k
How to Disable Clipping on Your Videos
If you don't want viewers creating clips from your content, YouTube lets you turn off the Clip feature at the channel or video level.
Disable Clipping for Your Entire Channel
- Go to studio.youtube.com
- Click Settings (gear icon) in the left sidebar
- Select Community
- Uncheck "Allow viewers to clip my content"
- Click Save
This prevents anyone from using the Clip tool on any of your videos going forward. Existing clips that viewers have already created will remain active — disabling the setting only prevents new clips.
Disable Clipping for a Specific Video
- Go to YouTube Studio → Content
- Click the video you want to protect
- Click Show more to expand additional settings
- Uncheck "Allow clipping"
- Click Save
When to Disable Clipping
- Paid courses or premium content — You don't want key moments shared freely
- Sensitive or easily miscontextualized content — Clips remove context by design
- Music or licensed content — Rights holders may object to clips being distributed
- Exclusive partnerships — Brand deals may restrict how content is distributed
For most creators, leaving clipping enabled is the better choice. Clips are free promotion — viewers share your best moments and each clip links back to your video with a "Watch full video" button.
Copyright and Fair Use: What You Need to Know
Clipping your own content is straightforward — you own it, you can do what you want with it. Clipping other people's content is where things get complicated.
YouTube's Clip Tool Is Built for Sharing
When you use YouTube's native Clip feature on someone else's video, you're within YouTube's terms. The clip links back to the original video, the original creator gets watch time credit, and no new upload is created. This is the intended use case.
Downloading and Re-Uploading Is Different
If you download someone else's video, clip a segment, and upload it to your channel or another platform, you may receive a Content ID claim or a copyright strike, even if you add commentary or edits. YouTube's Content ID system matches audio and video fingerprints automatically.
Fair use exists but is narrower than most people assume. Transformative use (adding substantial commentary, criticism, education, or parody) may qualify, but simply uploading a clip with a reaction face in the corner often doesn't meet the legal threshold.
Safe Rules of Thumb
- Your own content: Clip, repurpose, and distribute freely
- Others' content via YouTube Clip tool: Safe — links back to original
- Others' content downloaded and re-uploaded: Risk of copyright claims. Get explicit permission or ensure genuinely transformative use
- Music in clips: Licensed music in YouTube Shorts is allowed for up to 90 seconds for most tracks. Some tracks are limited to 30 or 60 seconds. If your clip exceeds the music license limit, the audio may be muted automatically
All your social media in one simple dashboard
Schedule posts, track analytics, and reply to comments/DMs — without switching tabs.
Engagement
+18%
Views
52.8k
Frequently Asked Questions
Can you clip any YouTube video?
No. The creator must have clipping enabled (it's on by default, but some creators turn it off). The video must be public, longer than 2 minutes, and not set as "made for kids." Private, unlisted, and age-restricted videos generally can't be clipped by viewers. If you don't see the scissors icon below a video, one of these restrictions is in effect. You can always clip your own videos regardless of these settings through YouTube Studio.
What's the difference between clipping and trimming on YouTube?
Clipping (the Clip tool) creates a shareable 5-60 second highlight that links back to the original video — it doesn't modify anything. Trimming (in YouTube Studio) permanently removes footage from your uploaded video's beginning, end, or middle. They serve completely different purposes: clipping is for sharing moments, trimming is for editing your published content. A clip is temporary and shareable; a trim is permanent and destructive.
Can you make a YouTube Short from someone else's video?
Technically, the "Remix" feature on YouTube lets you use a segment of another creator's video to create a Short. However, the original creator can disable this option. If you download someone else's video and re-upload it as a Short on your channel, you risk a copyright claim or strike through YouTube's Content ID system. The safest approach for sharing others' content is using the native Clip tool, which properly credits the original creator and doesn't create a new upload on your channel.
How do AI clipping tools compare to doing it manually?
AI clippers like Opus Clip or Descript analyze your video and generate multiple clip suggestions automatically — typically in 2-5 minutes for a 30-minute video. Manual clipping of the same video might take 1-2 hours to find the best moments, set in/out points, add captions, and reframe for vertical. The tradeoff is creative control: AI gets you 80% of the way there very quickly, but the clips may need tweaking to match your exact style. For creators publishing weekly long-form content who need 5-10 clips per video, AI tools save hours. For occasional one-off clips, manual editing is fine.
What's the best length for a YouTube clip I want to post on other platforms?
It depends on the platform, but shorter almost always wins. For TikTok, aim for 24-38 seconds. For Instagram Reels, 15-30 seconds performs best, with 7-15 second clips getting the most loops and shares. For YouTube Shorts, the sweet spot is 50-58 seconds — long enough to deliver value but short enough to maintain high completion rates. For X (Twitter), keep it under 45 seconds since the feed moves fast. The universal principle is to hook viewers in the first 2 seconds and cut every moment that doesn't earn the next second of attention.
Do YouTube clips help with channel growth?
YouTube Clips (the built-in sharing tool) have a modest direct impact — they drive some viewers back to the original video through the "Watch full video" link. But the real growth lever is creating Shorts from your long-form content. Shorts appear in YouTube's dedicated Shorts feed, which has its own algorithm and massive reach. Creators who consistently repurpose long-form videos into Shorts often see their channel subscribers grow significantly faster because Shorts expose their content to audiences who would never find a 30-minute video through search alone. To monitor how clipping impacts your growth, see our guide on how to see your YouTube subscribers. And once you hit subscriber and watch-hour thresholds, those Shorts become a monetization channel too — see our guide on when YouTube starts paying you for the full eligibility breakdown.
Final Takeaway
The best clipping method depends entirely on what you're trying to achieve. For quick sharing, use the built-in Clip tool. For permanent edits, use YouTube Studio (carefully). For channel growth, create Shorts from your best moments. For high-volume repurposing, use AI clippers. And for full creative control, download and edit locally.
The creators who grow fastest from clipping aren't the ones who use the fanciest tools — they're the ones who do it consistently. One Short per long-form video, posted the same week, distributed across platforms with a scheduling tool, compounds over months into significant reach.
Start with your best-performing video. Clip the strongest 30 seconds. Post it as a Short. That's it — you've started.
Related Reading
- Content Repurposing Strategies
- How to Schedule YouTube Shorts
- Best YouTube Scheduling Tools (2026)
- Does YouTube Automation Work?
- How to Improve Social Media Engagement
- Best Time to Upload a YouTube Video
- How to See Your YouTube Subscribers
- When Does YouTube Start Paying You?
- How to Start a YouTube Channel for Kids
- Social Media Cross-Posting Guide
- Social Media Safe Zones: Complete Guide
- YouTube Shorts Safe Zone Checker
All your social media in one simple dashboard
Schedule posts, track analytics, and reply to comments/DMs — without switching tabs.
Engagement
+18%
Views
52.8k
About the Author

Hasan Cagli
Founder of PostPlanify, a content and social media scheduling platform. He focuses on building systems that help businesses, agencies, and teams plan, publish, and manage content and social media more efficiently across platforms.


