
Getting your content onto Facebook Reels is a core part of any modern social media strategy. You can upload directly from the Facebook app, schedule content through Meta Business Suite, or automatically cross-post from Instagram. Each method has specific use cases, and knowing which one to choose is key to maximizing your reach.
This guide provides a step-by-step breakdown of each method, common problems you might encounter, and actionable solutions to fix them.
Why Posting Reels on Facebook Is a Game Changer
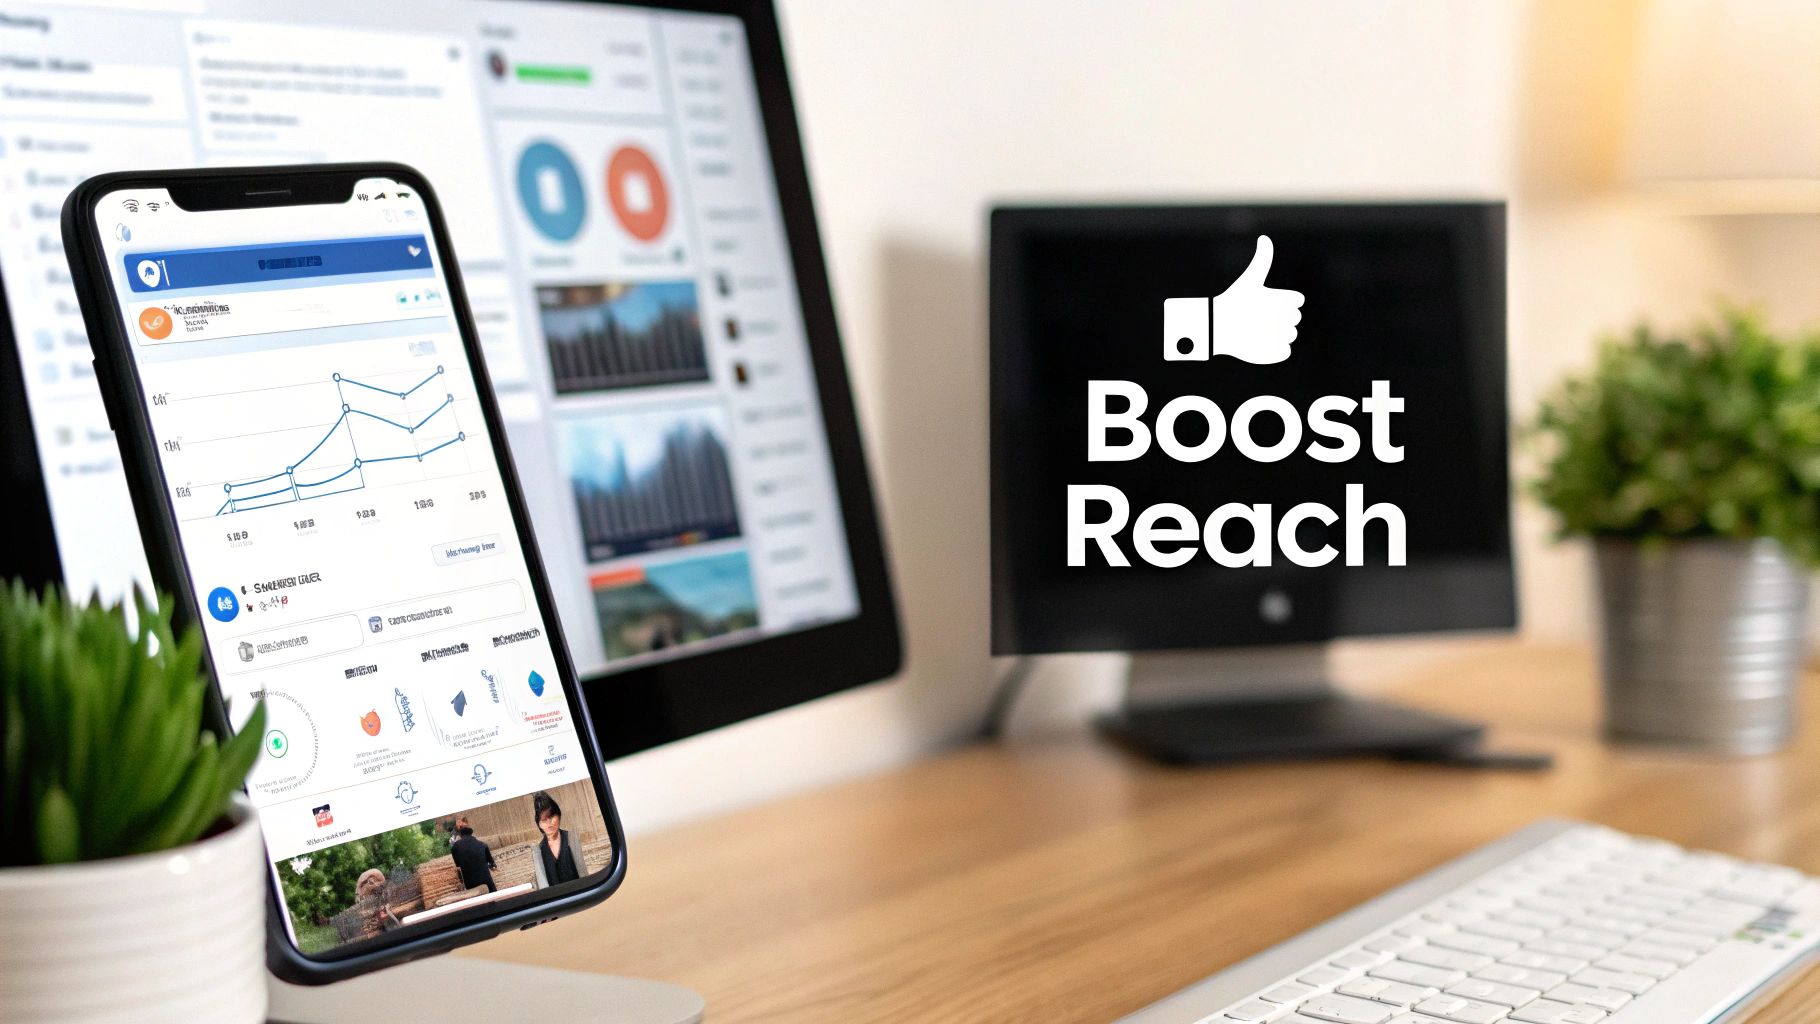
If you're treating Facebook Reels as just another content format, you're missing the bigger picture. Short-form video is how people overwhelmingly consume content, and Meta's algorithm is built to reward creators who embrace it.
Unlike a standard photo or link post, which primarily serves your existing followers, Reels are designed for discovery. This means your content has a significantly higher chance of reaching people who don't follow your Page. The algorithm actively pushes engaging Reels into the feeds of new audiences, making it one of the last true channels for organic growth on the platform.
The Power of Algorithmic Prioritization
When you publish a Reel, you signal to Facebook that you have fresh, dynamic content. Since the platform's primary goal is to keep users engaged and scrolling, it naturally prioritizes formats like Reels that hold attention longer.
This algorithmic boost translates into tangible benefits:
- Increased Organic Reach: Your videos are surfaced to a much wider, non-follower audience.
- Higher Engagement Rates: The interactive, fast-paced nature of Reels often generates more likes, comments, and shares than static posts.
- Community Building: Authentic, behind-the-scenes Reels are excellent for building a genuine connection with your audience.
The scale of this opportunity is massive. Industry data shows that Facebook Reels are played around 140 billion times per month, reaching a potential ad audience of over 616 million users. This shift is why a solid Reels strategy is non-negotiable for anyone serious about growing on Facebook. For tips on integrating this into your workflow, check out our guide on social media scheduling for small businesses.
Mastering how to post Reels on Facebook is less about following a trend and more about aligning your strategy with how the platform itself operates. It's about working with the algorithm, not against it.
Posting Reels Natively on Mobile and Desktop
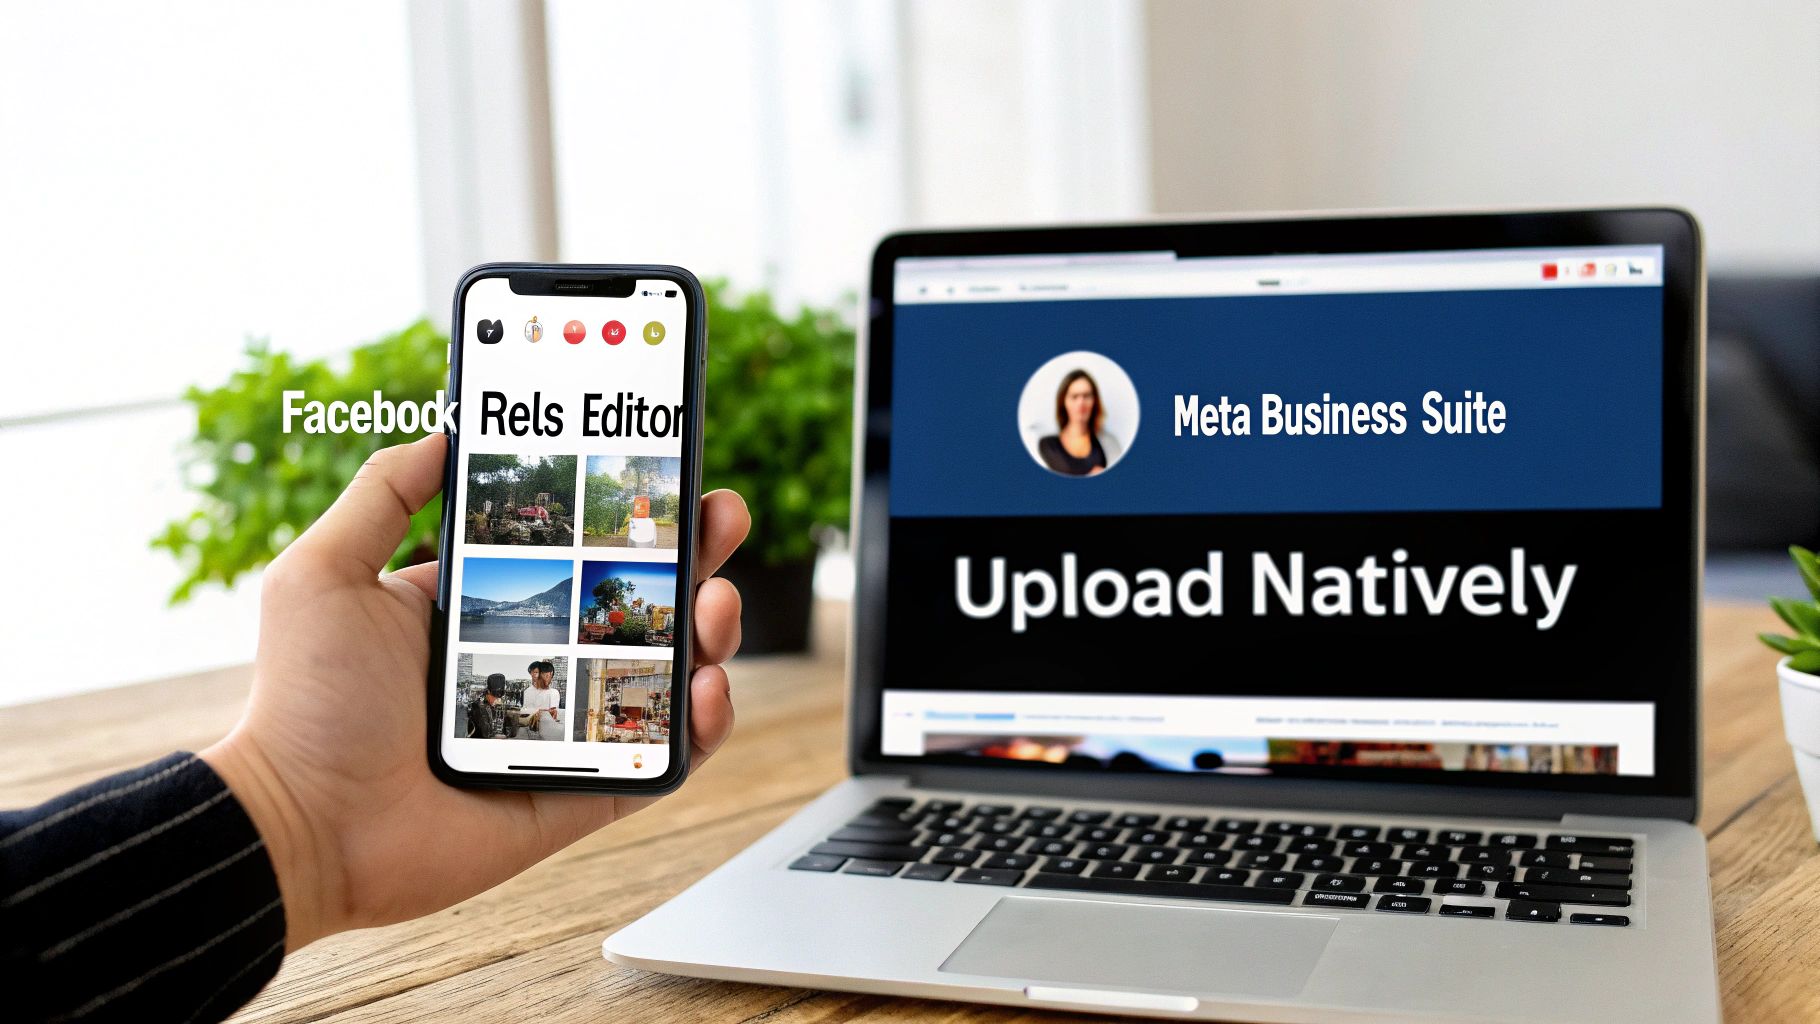
Uploading a Reel directly to Facebook gives it the best possible chance with the algorithm. You have two main paths for this: the intuitive mobile app for creating on the fly, and the more robust Meta Business Suite on desktop for polished, scheduled content.
Each serves a different strategic purpose. Mobile is ideal for jumping on trending audio or capturing spontaneous, in-the-moment clips. Desktop, on the other hand, is the command center for professionally edited videos that fit into a broader content calendar.
Using the Facebook Mobile App
Posting from your phone is fast and gives you full access to Facebook's creative suite, including its massive library of trending sounds and effects. This is the best method for content that feels immediate, authentic, and native to the platform.
Here are the exact steps:
- Open the Reel Uploader: In the Facebook app, tap the “+” icon in the top right, then select Reel. You can also find a "Create Reel" button directly on your news feed.
- Select Your Content: You can either choose a pre-edited video from your phone’s gallery or record new clips directly with the in-app camera.
- Use the Creative Tools: This is where the mobile app excels. Add audio, layer text, use stickers, and apply effects. You can also trim and rearrange your clips within the editor.
- Write Your Caption: Craft a compelling description, add 3-5 relevant hashtags, and tag any accounts featured in the video.
- Publish: Before posting, set your audience to Public for maximum reach and decide if you want to also share it to your Feed. When ready, hit Share now.
Uploading from a Desktop with Meta Business Suite
For social media managers and creators who work primarily on a computer, Meta Business Suite is the central hub for posting Reels. It's the only official way to upload from a desktop and, more importantly, the only native tool for scheduling them.
The main limitation is that you lose access to the mobile app's library of trending commercial music due to licensing restrictions. However, you gain the ability to schedule posts, which is essential for maintaining a consistent posting cadence. For a detailed walkthrough of the scheduling workflow, see our guide on how to schedule Facebook Reels.
Here’s the process:
- Navigate to Meta Business Suite and ensure your Facebook Page is selected.
- Click Create Reel from the main dashboard or find it under the "Content" tab.
- Upload your video file. MP4 or MOV formats are recommended for best compatibility.
- Add your caption, hashtags, and upload a custom thumbnail to make your Reel stand out.
A key limitation of desktop uploads is the audio library. If your Reel relies on a specific trending song, you must edit that audio into your video before uploading. The music available in Business Suite is royalty-free stock audio.
Once your Reel is ready, you can publish it immediately or schedule it for a specific date and time. For those managing a busy content calendar, a dedicated Facebook scheduler like PostPlanify can streamline this workflow by organizing all upcoming posts in one visual calendar.
Your choice depends on your workflow: use mobile for speed and trends; use desktop for planning and polish. Knowing how to post Reels on Facebook from both gives you the flexibility to execute any content strategy.
Cross-Posting Reels from Instagram to Facebook
For creators who use Instagram as their primary platform, cross-posting Reels to Facebook seems like an efficient shortcut. By linking your accounts, you can have Instagram automatically push your new Reel to your Facebook Page, saving you from uploading the same video twice.
While the "create once, publish everywhere" approach is convenient, it comes with significant limitations. A Reel that performs perfectly on Instagram can fail completely when it lands on Facebook due to platform-specific restrictions, primarily related to audio licensing.
Manage All Your Social Accounts Without the Chaos
Schedule posts, track performance, and collaborate with your team.
Setting Up Automatic Cross-Posting
To enable this feature, you must connect your Instagram and Facebook accounts through the Meta Accounts Center. This is the central hub for managing your profiles and permissions across Meta's platforms.
- Open your Instagram app, go to your Profile, and tap the hamburger menu (three lines) in the top right.
- Navigate to Settings and privacy, then tap Accounts Center.
- Tap Profiles, then Add accounts to link your Facebook profile if it isn't already connected.
- Return to the main Accounts Center menu and select Sharing across profiles.
- Choose your Instagram account, and under Automatically share, toggle on the option for your Instagram Reels. You will be prompted to select the destination Facebook account.
Once configured, any new Reel you post on Instagram will automatically be shared to Facebook. This set-it-and-forget-it feature helps maintain an active presence on your Facebook Page with minimal extra effort.
The Hidden Risks and Limitations of Cross-Posting
While automatic sharing is convenient, it's not a perfect solution. The most common problem creators face is with audio. A trending song that is fully licensed for use on Instagram may not have the same rights on Facebook.
This often results in a frustrating outcome: your Reel posts to Facebook with the audio completely muted. Instead of an engaging video, your audience sees a silent clip with a "This song is currently unavailable" message, nullifying its impact. Another frequent issue is content getting stuck in a prolonged review process on Facebook, even after it posted instantly on Instagram.
If your Reel's success depends on a specific trending audio track, it is always safer to upload it natively to Facebook. This allows you to select the song from Facebook's own licensed library, guaranteeing it will play correctly. This is a primary reason why many social media managers schedule content separately for each platform, as it provides greater control and avoids these cross-posting pitfalls. For a deeper dive into a dedicated Instagram workflow, our guide on how to schedule Instagram Reels offers more platform-specific tips.
The bottom line: Use cross-posting for Reels that feature original audio or royalty-free sounds. For any content tied to a trending song, stick to native uploads.
Creating and Optimizing Reels for Maximum Impact
Posting your Reel is just the first step. Ensuring it gets seen by the right audience requires strategic optimization. This involves moving beyond the technical steps of uploading and focusing on elements that the Facebook algorithm values.
A successful Reel is a complete package: a hook that stops the scroll, a caption that sparks conversation, and hashtags that attract your ideal viewers. Each component plays a critical role in its performance.
Nail the First Three Seconds
In the fast-paced Reels feed, you have approximately three seconds to capture a viewer's attention. This is your hook, and it is the most critical part of your video. If you fail to make an immediate impact, the user will scroll away.
Start with a bold statement, a surprising visual, or a question that piques curiosity. Avoid slow introductions or branding logos at the beginning. Get straight to the value. A strong hook significantly increases watch time, signaling to the algorithm that your content is engaging and worth promoting to a wider audience.
While planning your hook, be mindful of the platform's interface. Facebook's UI overlays—buttons, username, and caption—can obstruct text or key visuals. To prevent this, keep all critical elements centered. Our social media safe zones guide breaks down the exact safe areas for Facebook Reels, Instagram, TikTok, and every other major platform. You can also use the Instagram safe zone checker to visualize these areas, as the guidelines are nearly identical for Facebook Reels.
Craft Captions and Hashtags That Work
Treat your caption as a conversation starter, not just a description. Ask a question, share a brief story behind the Reel, or include a clear call-to-action (CTA). Simple prompts like “What do you think?” or “Save this for your next project!” can significantly boost engagement.
Hashtags are essential for discovery. A smart mix of broad and niche tags will help you cast a wide yet targeted net.
- Broad Hashtags: Use high-volume tags like #digitalmarketing or #smallbusiness to expose your content to a massive audience.
- Niche Hashtags: Get specific with tags like #localbakerytips or #saasmarketingstrategy to connect with a smaller but more dedicated community.
- Branded Hashtags: Create a unique tag like #PostPlanifyTips to build a searchable content library for your brand.
A solid strategy is to use 3-5 highly relevant hashtags that directly relate to your video's content and target audience. Quality over quantity is key.
Your Quick-Reference Optimization Checklist
Technical specifications can determine your Reel's performance. An incorrectly formatted video appears unprofessional and can be easily skipped. Here is a simple checklist to ensure your Reels are polished and optimized.
| Element | Best Practice | Why It Matters |
|---|---|---|
| Aspect Ratio | 9:16 Vertical | Fills the entire mobile screen for an immersive, native experience. |
| Length | 15–30 seconds | Caters to short attention spans and often leads to higher completion rates. |
| Audio | Use trending audio | Can boost performance by tapping into viral trends and user habits. |
| Text/Captions | Add on-screen text | Crucial for the large percentage of users who watch videos on mute. |
| Thumbnails | Custom, engaging cover | A compelling thumbnail entices users to click and watch from their feed or your profile. |
| Hook | Grab attention in 3 seconds | Prevents users from scrolling past and signals engagement to the algorithm. |
Don’t Forget About Timing and Trends
While technical specs are vital, when you post and what audio you use are equally important. Reels between 15-30 seconds typically have higher completion rates, which the algorithm rewards. The impact of audio is significant, as Reels with trending sounds often perform better by tapping into existing user behavior.
Since a large portion of Facebook videos are watched with the sound off, adding on-screen text or captions is non-negotiable for message clarity. Finally, to give your optimized Reel the best possible launch, check our best time to post on Facebook guide for data-backed timing recommendations. Posting when your audience is most active can provide the initial engagement burst needed for viral potential. For a cross-platform view, see our best time to post on social media guide.
Manage All Your Social Accounts Without the Chaos
Schedule posts, track performance, and collaborate with your team.
Troubleshooting Common Facebook Reels Problems
Technical glitches can quickly derail your content workflow. You’ve created the perfect Reel, but when you try to post it on Facebook, you encounter an error. Common issues include upload failures, muted audio, or missing features.
Most of these problems stem from platform bugs, file compatibility issues, or content rights mismatches between Instagram and Facebook. The key is to quickly diagnose the cause and apply the correct fix.
Problem: My Reel Upload is Failing
Why it happens: This is one of the most common issues. An upload failure is typically caused by a problem with the video file itself or your internet connection. Facebook has specific requirements for video uploads, and deviations can cause the process to time out.
Common Causes:
- Large File Size: Files over 1GB often fail.
- Unsupported Format: While many formats work, .MP4 or .MOV are the most reliable.
- Unstable Connection: A spotty Wi-Fi or cellular connection can interrupt the upload.
- App Cache Issues: Corrupted temporary files in the Facebook app can cause conflicts.
Actionable Fixes:
- Compress Your Video: Use a free online video compressor to reduce the file size. This can often be done without a noticeable loss in quality.
- Check Your Connection: Switch from Wi-Fi to cellular data (or vice versa) and try uploading again.
- Clear the App Cache: Go to your phone’s settings, find the Facebook app, and clear its cache to remove temporary data that might be causing the issue.
- Restart the App: Close the Facebook app completely and reopen it before attempting to upload again.
Problem: The Audio on My Reel Was Muted After Posting
Why it happens: You post a Reel, and moments later, the audio is gone, replaced by a notice that the song is unavailable. This is almost always a music licensing issue, most common with cross-posted content from Instagram. A song licensed for use on Instagram does not automatically have the same license for Facebook.
Common Causes:
- Cross-Posting Licensed Music: You shared a Reel from Instagram that used a song from Instagram's music library.
- Copyright Detection: You edited a commercial song into your video externally, and Meta’s copyright system detected and muted it.
Actionable Fixes:
- Use Native Audio: When uploading directly to Facebook, always select your audio from Facebook’s official sound library. This guarantees it is licensed for the platform.
- Re-upload Natively: If your cross-posted Reel was muted, delete it from Facebook and re-upload it directly through the Facebook app or Meta Business Suite, selecting the same or a similar sound from Facebook's library.
- Use Original or Royalty-Free Audio: For content you plan to cross-post, stick to original audio or music from a royalty-free library to avoid licensing conflicts.
Muted audio is a strong indicator that you should prioritize native uploads over cross-posting, especially for Reels that rely on trending sounds. The extra effort to upload separately ensures your Reel is experienced as intended. With Reels being reshared roughly 3.5 billion times daily across Facebook and Instagram, ensuring your audio works is critical. You can find more Facebook statistics and what they mean for creators to understand the platform's scale.
If you encounter similar scheduling issues on other platforms, our guide on fixing Instagram scheduled posts that are not working may provide additional solutions. If your Reel upload problems extend to all Facebook posts, see our guide on why you can't post on Facebook for a full list of causes and fixes.
How to Share Someone Else's Reel on Facebook
Sometimes you don't need to create a Reel — you want to share one you found. Facebook makes this straightforward, but the options differ depending on where you found the Reel.
Sharing a Facebook Reel
- Open the Reel you want to share
- Tap the Share button (paper airplane icon) below the video
- Choose your destination: Share to Feed, Share to Story, Send in Messenger, or Copy Link
- Add your own commentary if sharing to Feed, then tap Post
When you share a Reel to your Feed, it appears as a shared post with attribution to the original creator. Your followers see it alongside your other content, and the original creator gets a notification.
Sharing an Instagram Reel to Facebook
If you find a Reel on Instagram that you want to share to Facebook:
- Tap the Share button on the Instagram Reel
- Select Facebook from the sharing options
- The Reel will be shared as a link post on your Facebook timeline
Important: This creates a link post, not a native Facebook Reel. The video won't appear in the Facebook Reels feed or benefit from Reels-specific algorithmic distribution. For maximum reach, save the Reel (if it's your own content) and upload it natively to Facebook.
When Sharing Makes Strategic Sense
- User-generated content (UGC): Share customer Reels that feature your product to build social proof
- Industry news: Reshare relevant Reels from industry leaders to position your Page as a curated resource
- Community engagement: Sharing follower content strengthens relationships and encourages more UGC
- Cross-promotion: If you manage multiple Pages, share Reels between them to cross-pollinate audiences
Facebook Reels Monetization: How Creators Earn
If you're investing time in creating Facebook Reels, you should know how — and how much — they can earn.
Current Monetization Options (2026)
| Revenue Stream | How It Works | Requirements |
|---|---|---|
| In-stream ads (overlay ads) | Banner and sticker ads appear on your Reels; you earn a share of ad revenue | Must be in the Facebook Reels monetization program |
| Stars | Viewers send Stars (virtual tips) during or after watching your Reel | Enabled through Facebook's Stars program |
| Brand partnerships | Brands pay you directly to feature products in your Reels | No platform requirement — negotiated independently |
| Performance bonuses | Meta occasionally offers invite-only bonus programs for Reels creators | Invitation from Meta based on performance metrics |
How Much Do Facebook Reels Pay?
Facebook Reels pay significantly less per view than YouTube long-form content. Most creators report earning $0.01–$0.02 per 1,000 views from in-stream ads, though this varies by audience location and niche. A Reel with 1 million views might earn $10–$20 from ads alone.
The real monetization opportunity is in brand partnerships and driving traffic to products or services — not direct ad revenue. For a detailed earnings breakdown with real creator data, see our guide on how much Facebook Reels pay per 1,000 views.
Manage All Your Social Accounts Without the Chaos
Schedule posts, track performance, and collaborate with your team.
Facebook Reels FAQ: Your Questions Answered
Here is a quick-fire round of the most common questions about posting Reels on Facebook.
Can I Edit a Facebook Reel After I Post It?
You can make limited edits. Once a Reel is live, Facebook allows you to modify the caption, hashtags, and location. However, the core content—the video clips, audio, and effects—is locked.
If you notice a significant error in your video (like a typo in on-screen text), your only option is to delete the Reel and re-upload the corrected version. Always review your Reel one final time before publishing to avoid this.
Why Is the Reels Option Missing from My Facebook Page?
This is a common and frustrating issue, but it's usually due to a simple technical glitch rather than a problem with your Page.
Here are the most common causes and their fixes:
- Outdated App: This is the #1 cause. Go to your app store and check for a Facebook app update.
- Temporary Glitch: Log out of your Facebook account, fully close the app, then log back in. Clearing the app's cache in your phone settings can also resolve this.
- Feature Rollout: In rare cases, Facebook rolls out features by region, and it may not have reached your account yet. This is less common now but can still occur. Ensure your Page is using the updated layout, as some features are not available on "Classic" Pages.
If you have tried these steps and the option is still missing, it is likely a temporary bug on Facebook's end that will resolve itself.
What Is the Best Time to Post Reels on Facebook?
There is no single "best" time to post, but there is a best time for your audience. The goal is to post when your specific followers are most active.
Start by checking your Facebook Page Insights. The "Audience" tab shows the days and hours when your followers are online. As a general rule, many accounts see good engagement during weekday lunch hours (12 PM - 2 PM) and evenings (5 PM - 8 PM). However, the best strategy is to test different times, monitor your analytics, and adjust based on what works for your community.
How Long Can a Facebook Reel Be?
Officially, Facebook Reels can be up to 90 seconds long when uploaded from the mobile app. However, just because you can make a 90-second Reel doesn't mean you should.
The sweet spot for audience retention is much shorter. Data consistently shows that Reels in the 15-30 second range perform better. They have higher completion rates, which is a strong positive signal to the algorithm. Your objective should be to deliver value or tell a compelling story as concisely as possible. If you're working with longer video content on Instagram specifically, our guide on how to post a long video on Instagram covers the full range of options and length limits.
Do Facebook Reels show up on my regular profile/Page?
Yes. When you post a Reel, it appears in two places: the dedicated Reels feed (where non-followers discover it) and your Page or profile's video tab. You can also choose to share it to your main Feed during the upload process, which makes it visible alongside your regular posts. If you don't share to Feed, the Reel still lives on your Page under the Reels/Videos section but won't appear in your timeline. For maximum visibility, always toggle "Share to Feed" on.
Can I post a Reel to a Facebook Group?
Yes. Facebook now supports posting Reels directly to Groups. Open the Group, tap the "Reel" option in the post composer, and follow the same creation steps as a regular Reel. Group Reels are particularly effective because they reach a highly targeted, already-engaged audience. The Reel will appear in the Group's feed and can also surface in the broader Reels discovery feed, giving you exposure to both Group members and new audiences.
What's the difference between Facebook Reels and Facebook Stories?
Stories disappear after 24 hours, appear at the top of the Feed in circular bubbles, and are primarily shown to your existing followers. Reels are permanent (unless you delete them), appear in the dedicated Reels feed, and are actively pushed to non-followers by the algorithm for discovery. If your goal is reach and growth, post Reels. If your goal is engagement with existing followers (polls, Q&As, behind-the-scenes), use Stories. Most brands use both as part of a complementary strategy.
Why is my Facebook Reel getting zero views?
If your Reel has been live for several hours with zero or near-zero views, check these common causes:
- Audience set to "Friends" instead of "Public" — This is the #1 cause. Go to the Reel, tap the three-dot menu, and check the audience setting. Only Public Reels enter the discovery feed.
- Content review hold — Facebook occasionally holds Reels for manual review, especially if the AI detects potentially sensitive content. This can take up to 48 hours.
- Violation or restriction — Check your Page Quality notifications in Meta Business Suite for any flags or restrictions.
- New or inactive Page — Pages with very little posting history may have limited initial distribution. Post consistently for 2-3 weeks to build algorithmic trust.
Can I schedule Facebook Reels in advance?
Yes. You can schedule Reels through Meta Business Suite on desktop (click Create Reel → set date and time before publishing) or through third-party tools like PostPlanify that support Facebook Reel scheduling. Scheduling is especially valuable for maintaining a consistent posting cadence without being online at peak hours. See our full guide on how to schedule Facebook Reels for a step-by-step walkthrough.
Do hashtags actually help Facebook Reels get more views?
Yes, but their impact is smaller than on Instagram or TikTok. Facebook's algorithm relies more on engagement signals (watch time, shares, comments) than hashtag categorization. That said, hashtags still help Facebook categorize your content and surface it to users who follow or search for specific topics. Use 3-5 highly relevant hashtags — avoid generic tags like #viral or #fyp which have no categorization value on Facebook. Niche-specific hashtags (e.g., #veganmealprep, #smallbusinesstips) perform best because they connect you with targeted audiences.
Summary Checklist for Posting Facebook Reels
- Choose Your Method: Use the mobile app for trending audio, Meta Business Suite for scheduling, and cross-posting only for original audio.
- Optimize for Reach: Create a strong hook in the first 3 seconds, use on-screen text, and maintain a 9:16 aspect ratio.
- Use Captions & Hashtags: Write an engaging caption with a CTA and add 3-5 relevant hashtags.
- Check for Issues: Before publishing, double-check for typos and ensure your video file is in a compatible format (.MP4 or .MOV).
- Troubleshoot if Needed: If an upload fails, compress the file and check your connection. If audio is muted, re-upload natively using Facebook's audio library.
Ready to stop juggling platforms and start saving hours? With PostPlanify, you can create, schedule, and analyze all your social media content—including Facebook Reels—from a single, streamlined dashboard. Plan your entire calendar, perfect your captions with AI, and publish flawlessly every time.
Start your 7-day free trial of PostPlanify today!
Related Reading
- How to Schedule Facebook Posts in 2025
- How to Schedule Facebook Reels
- Facebook Scheduled Posts Not Working: How to Fix It
- Best Time to Post on Facebook
- Why Can't I Post on Facebook?
- How Much Does Facebook Reels Pay Per 1,000 Views?
- How to Schedule Instagram Reels
- Social Media Safe Zones: Complete Guide
- Best Time to Post on Social Media (All Platforms)
- How to Post a Long Video on Instagram
- Posting Facebook to Instagram: Cross-Posting Guide
- How to Post a Story on Facebook
- Facebook Line Break Generator — Format Reels captions with line breaks
Manage All Your Social Accounts Without the Chaos
Schedule posts, track performance, and collaborate with your team.
About the Author

Hasan Cagli
Founder of PostPlanify, a content and social media scheduling platform. He focuses on building systems that help businesses, agencies, and teams plan, publish, and manage content and social media more efficiently across platforms.


